
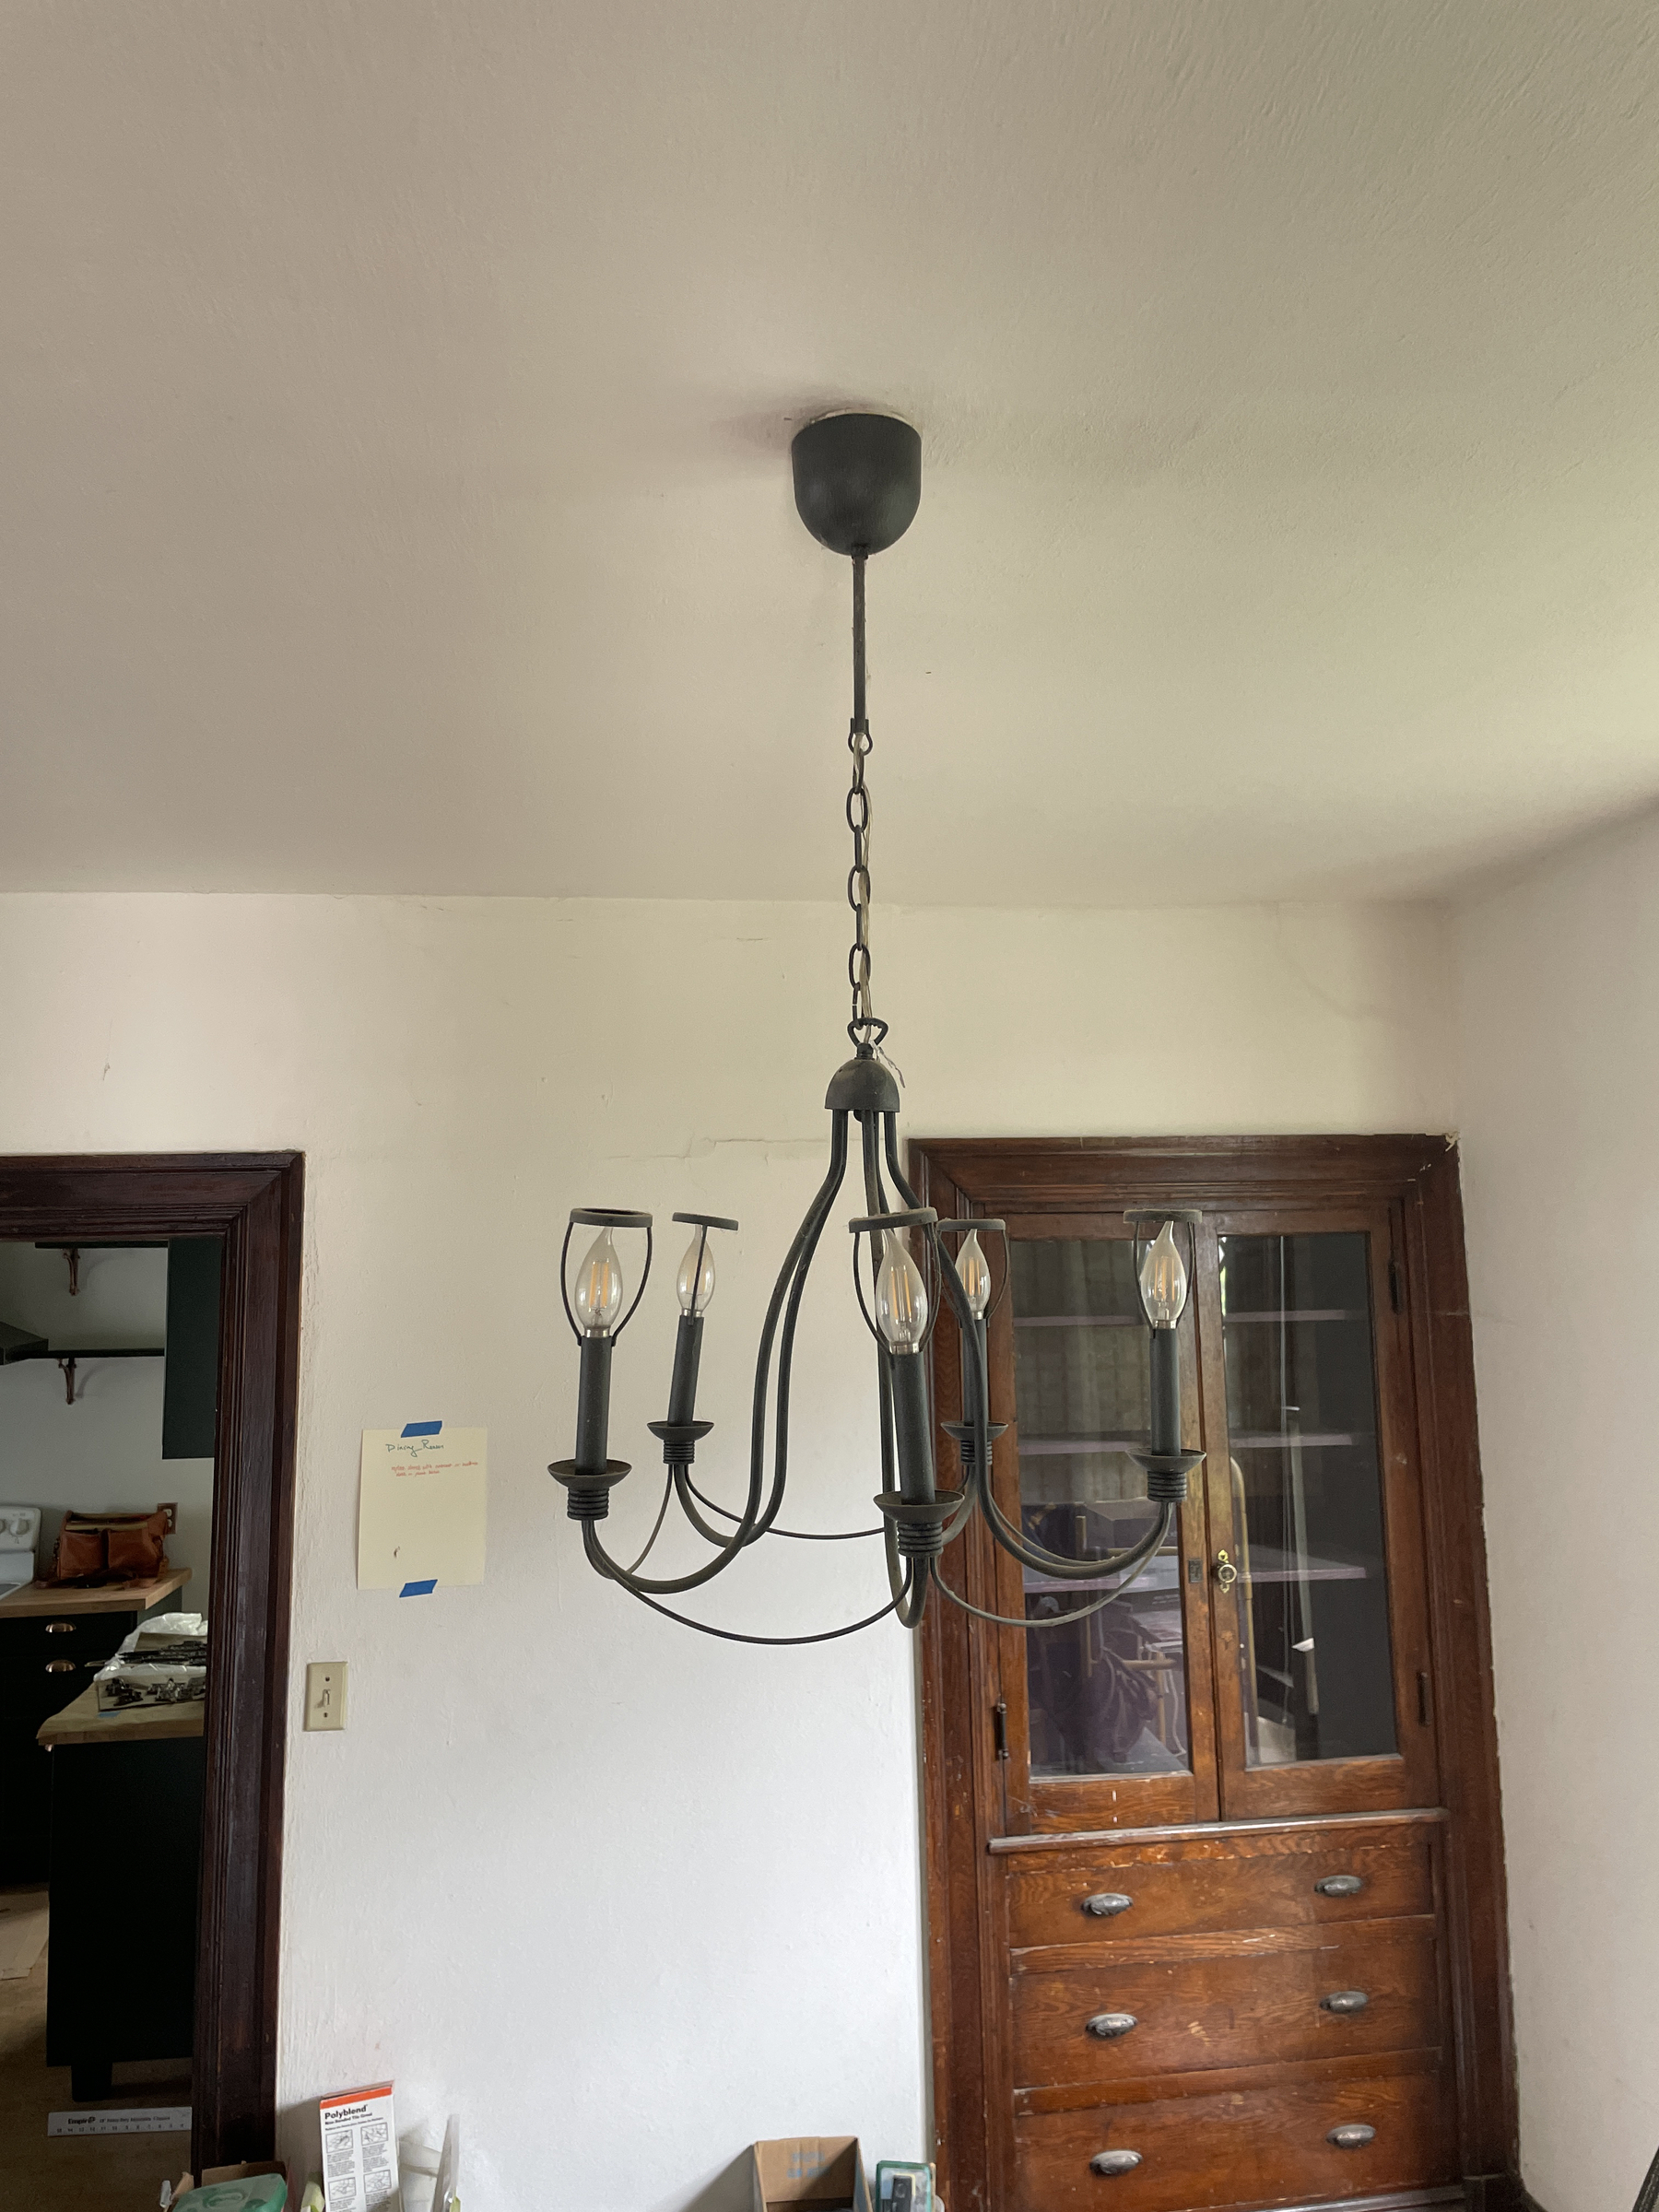
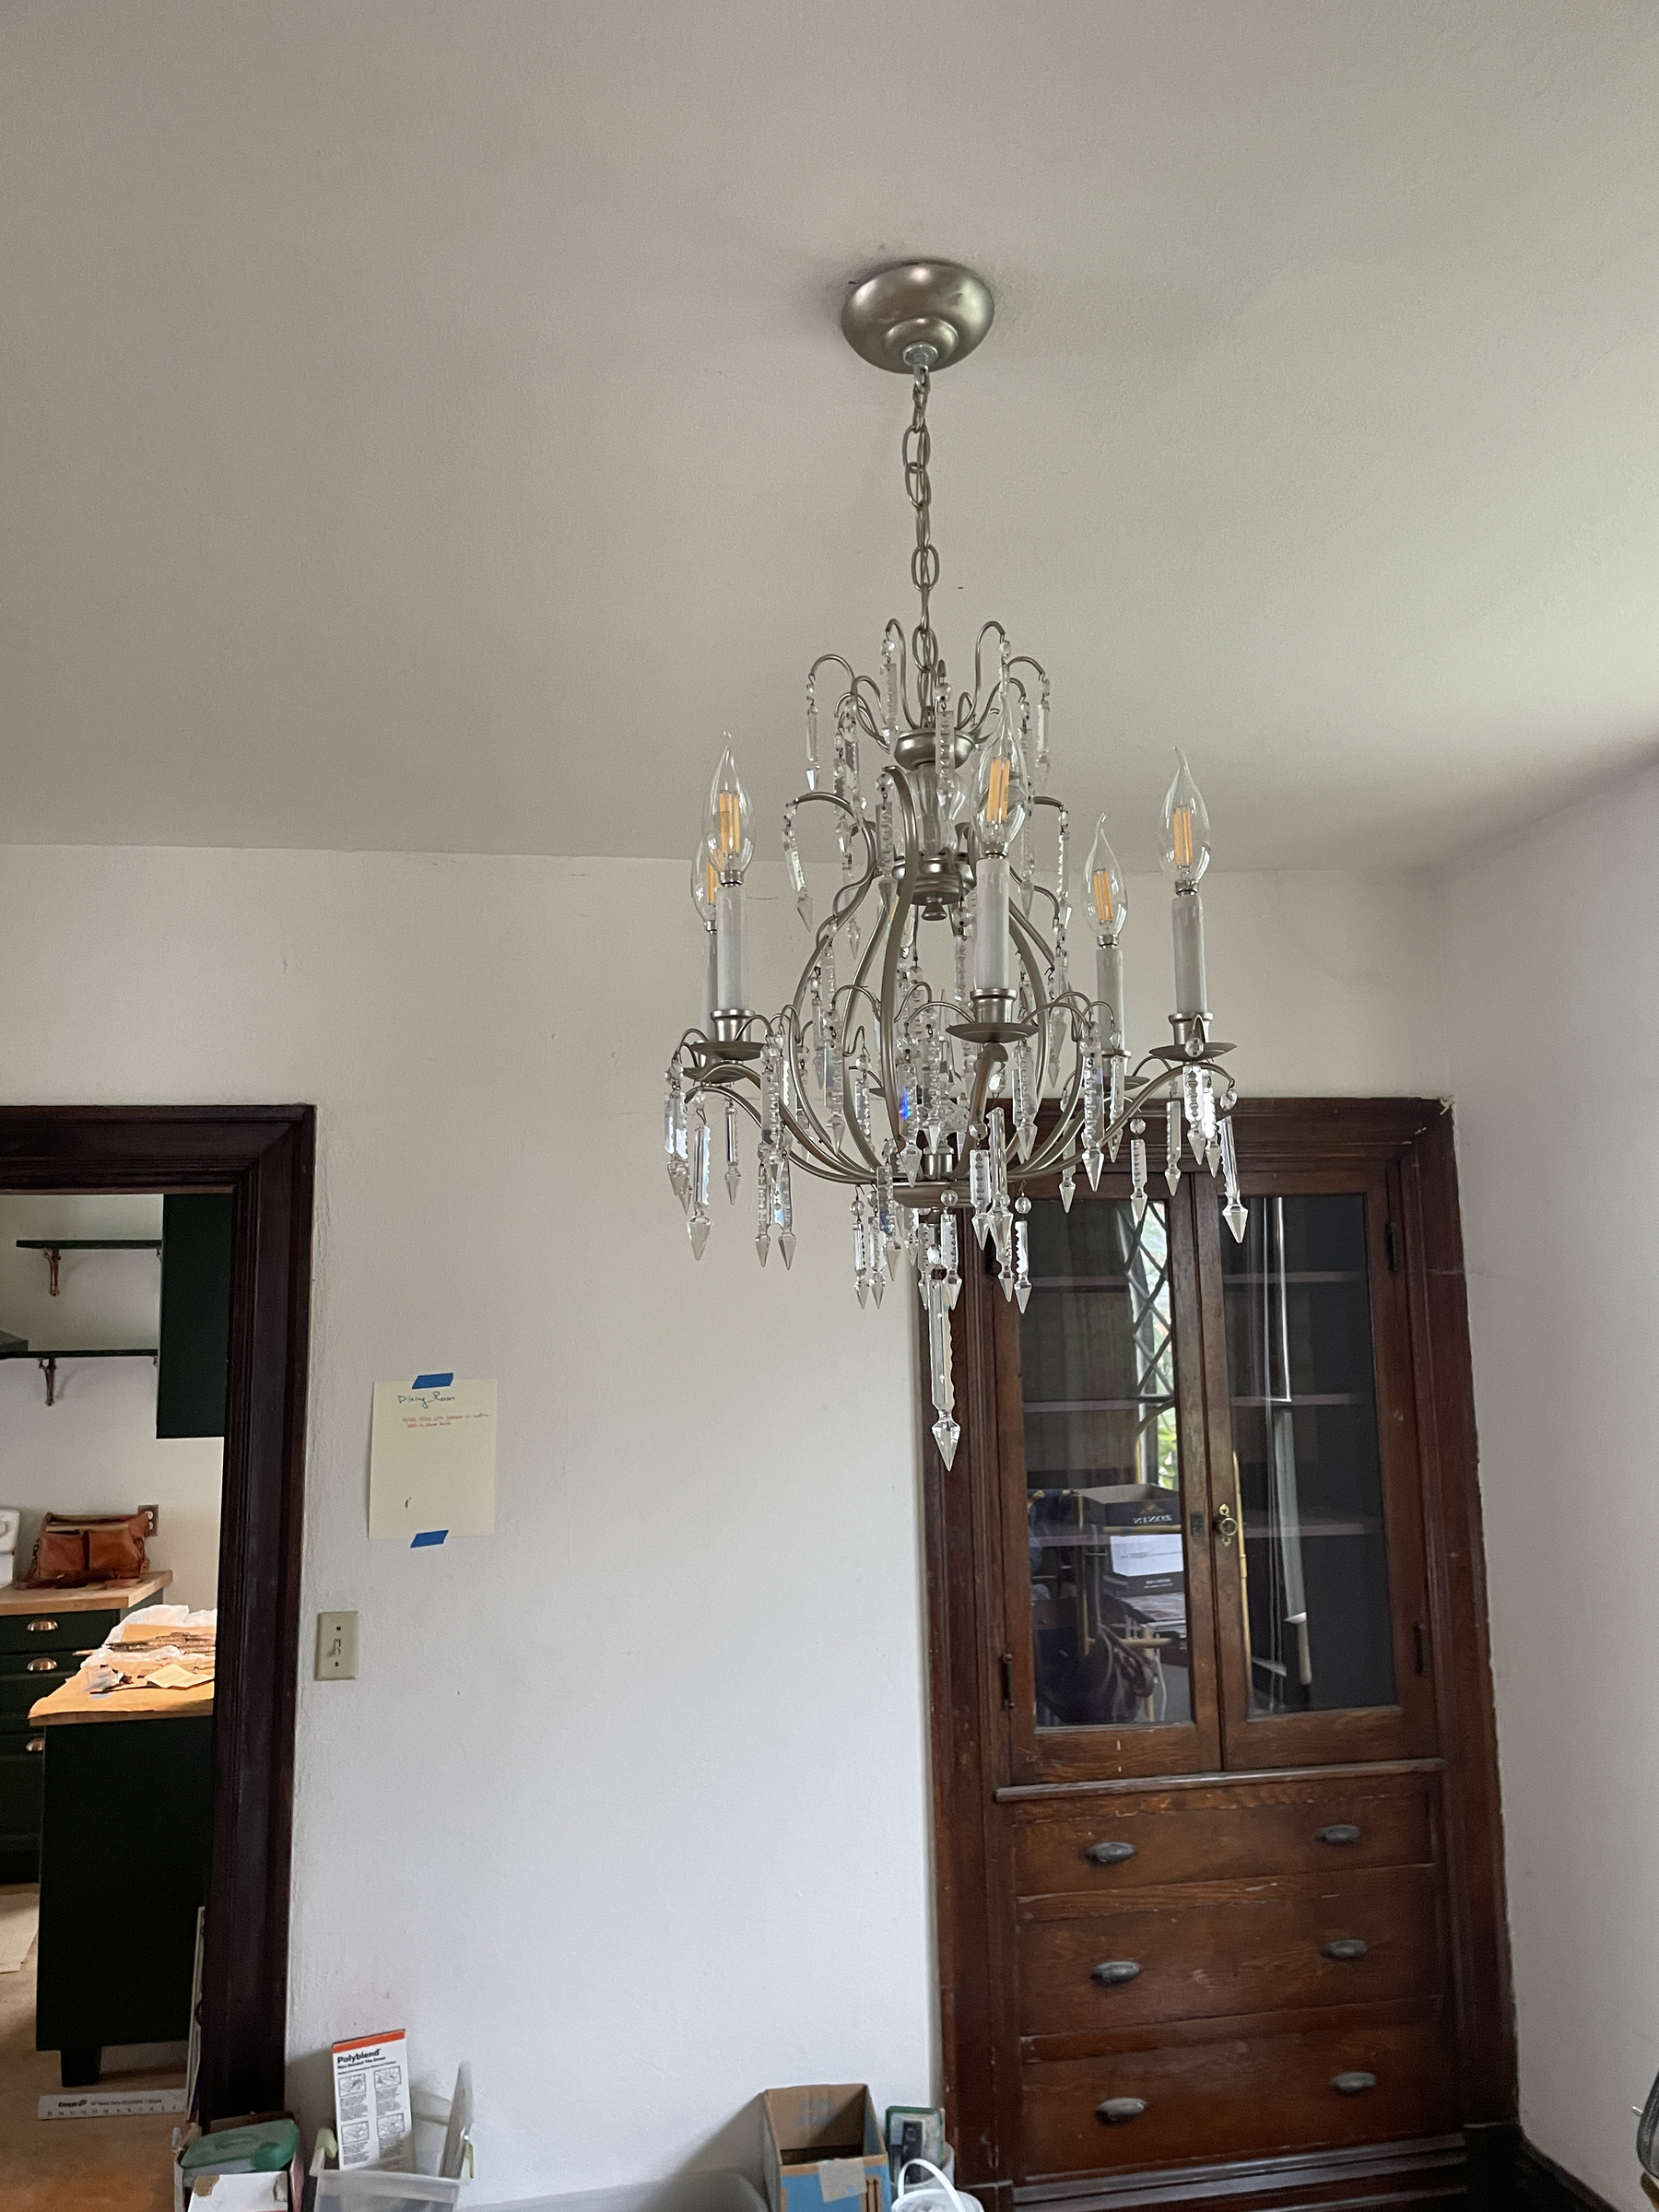
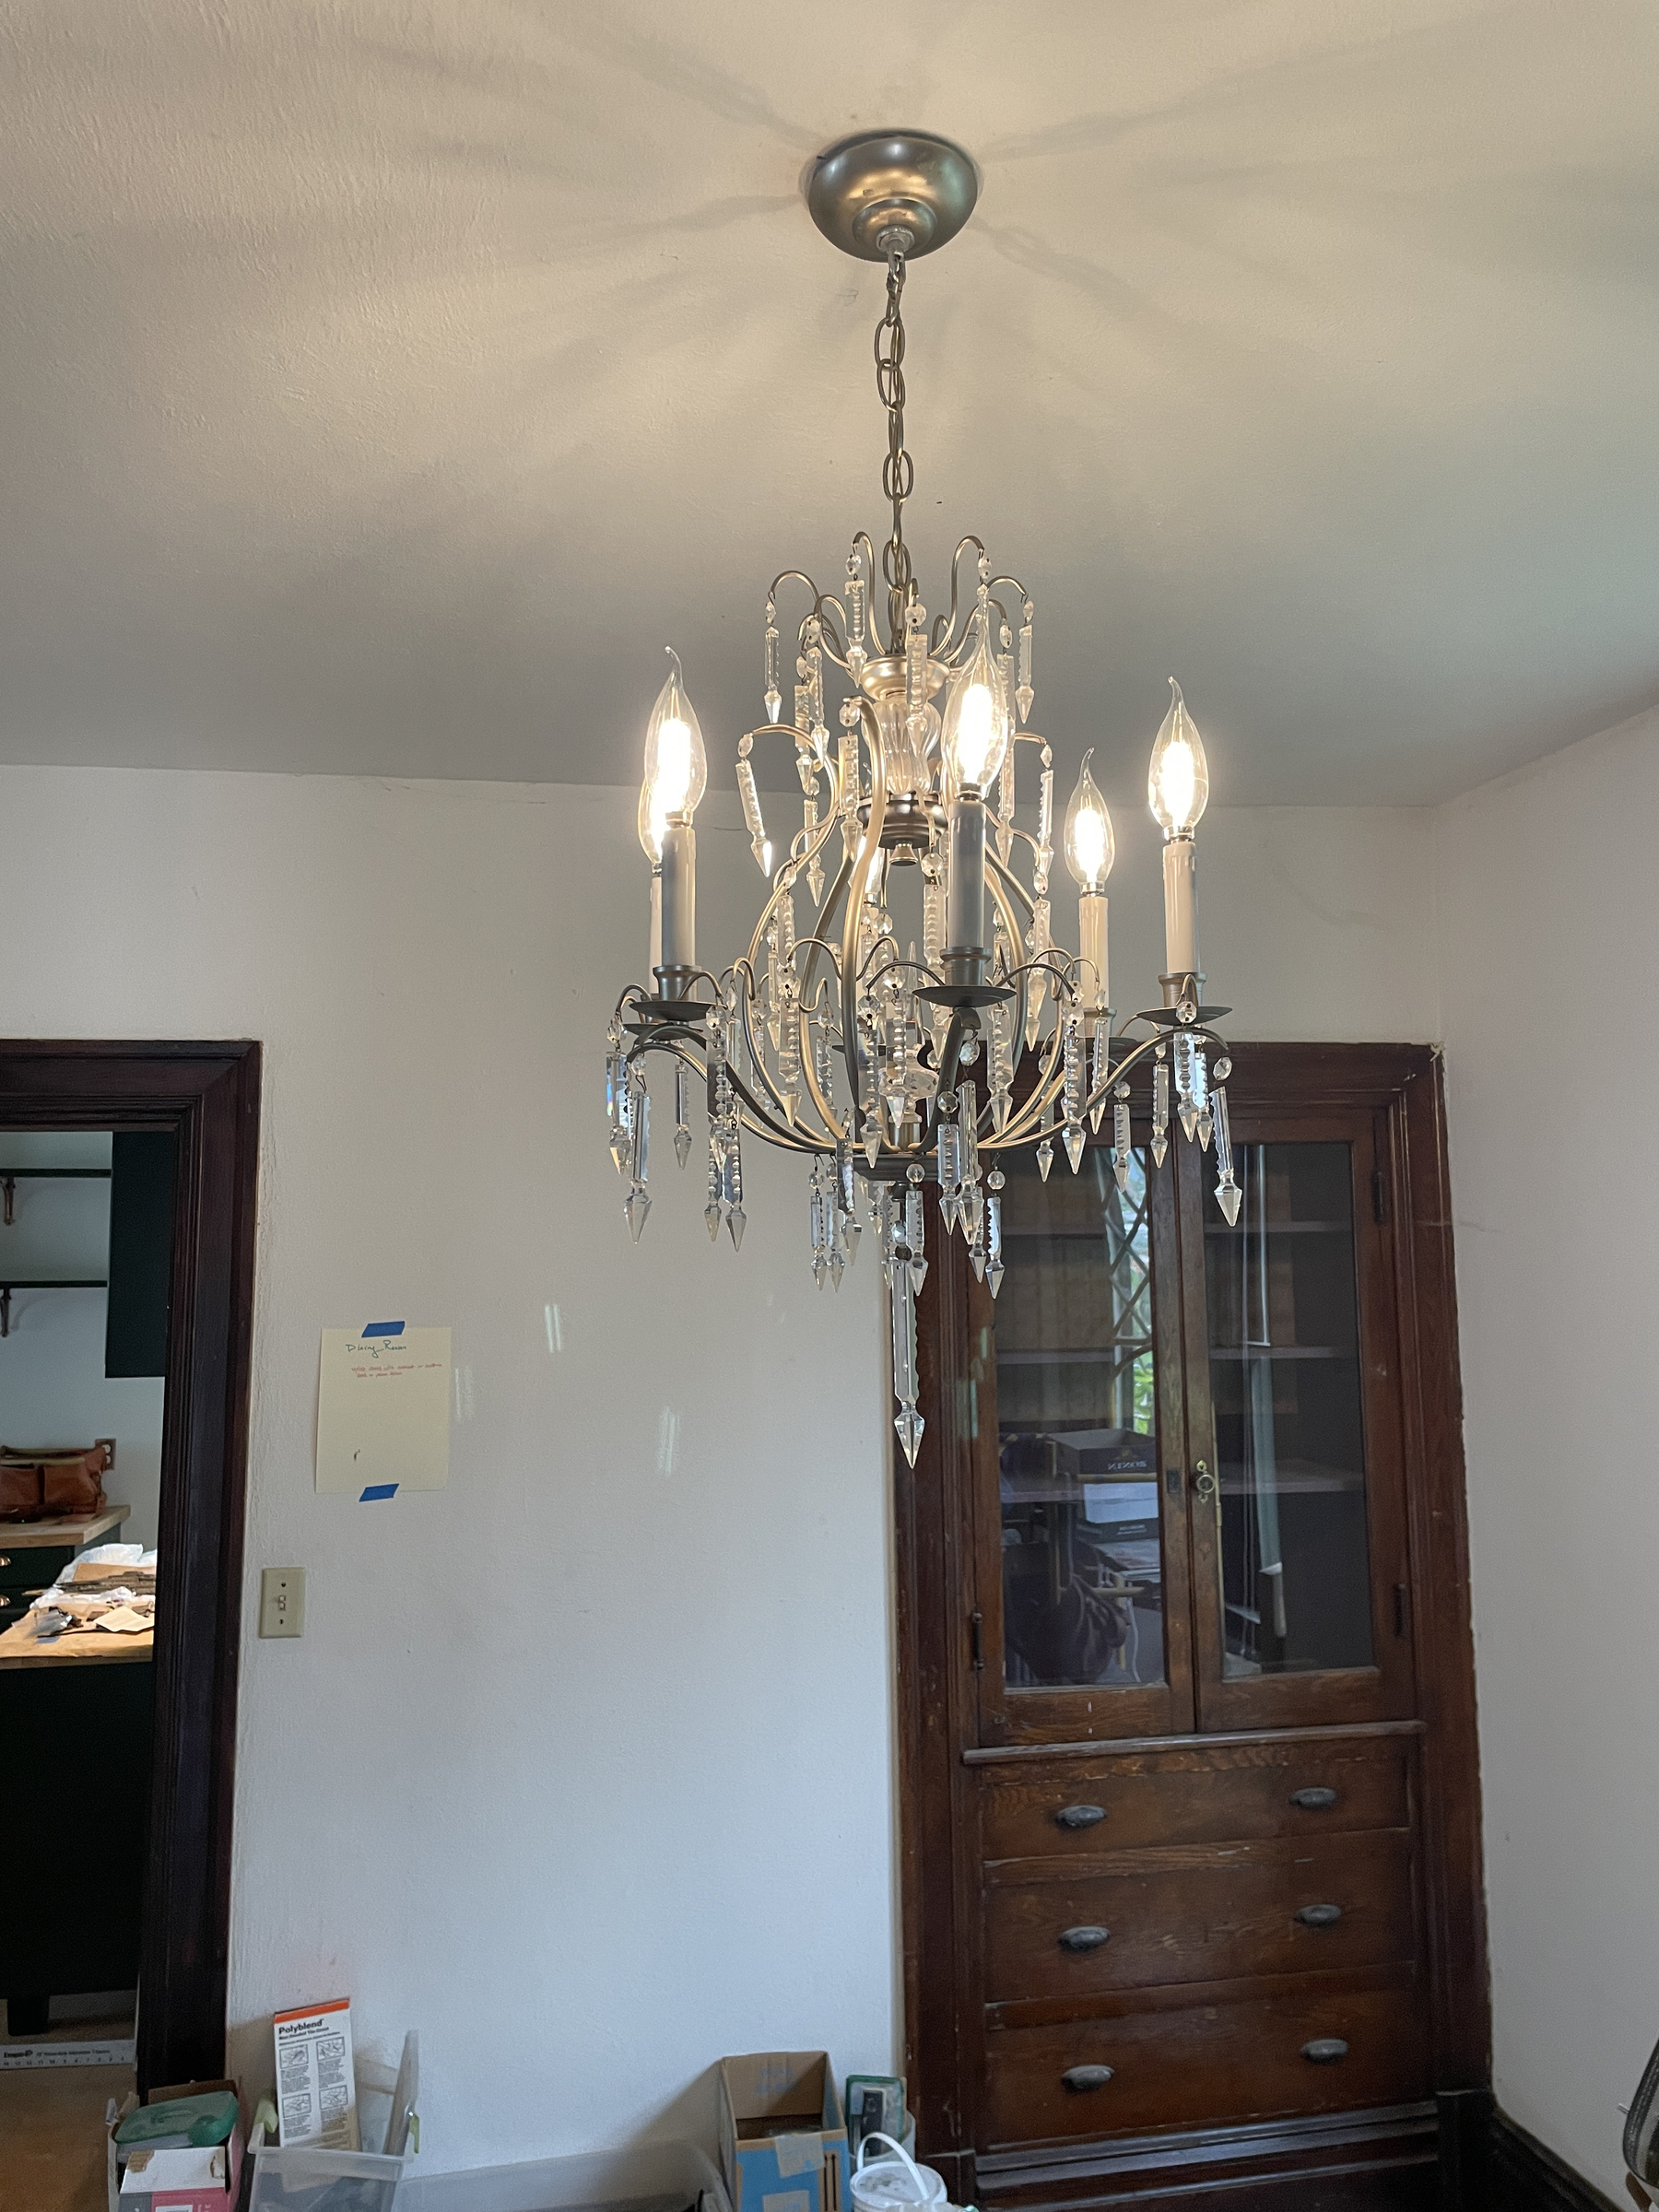
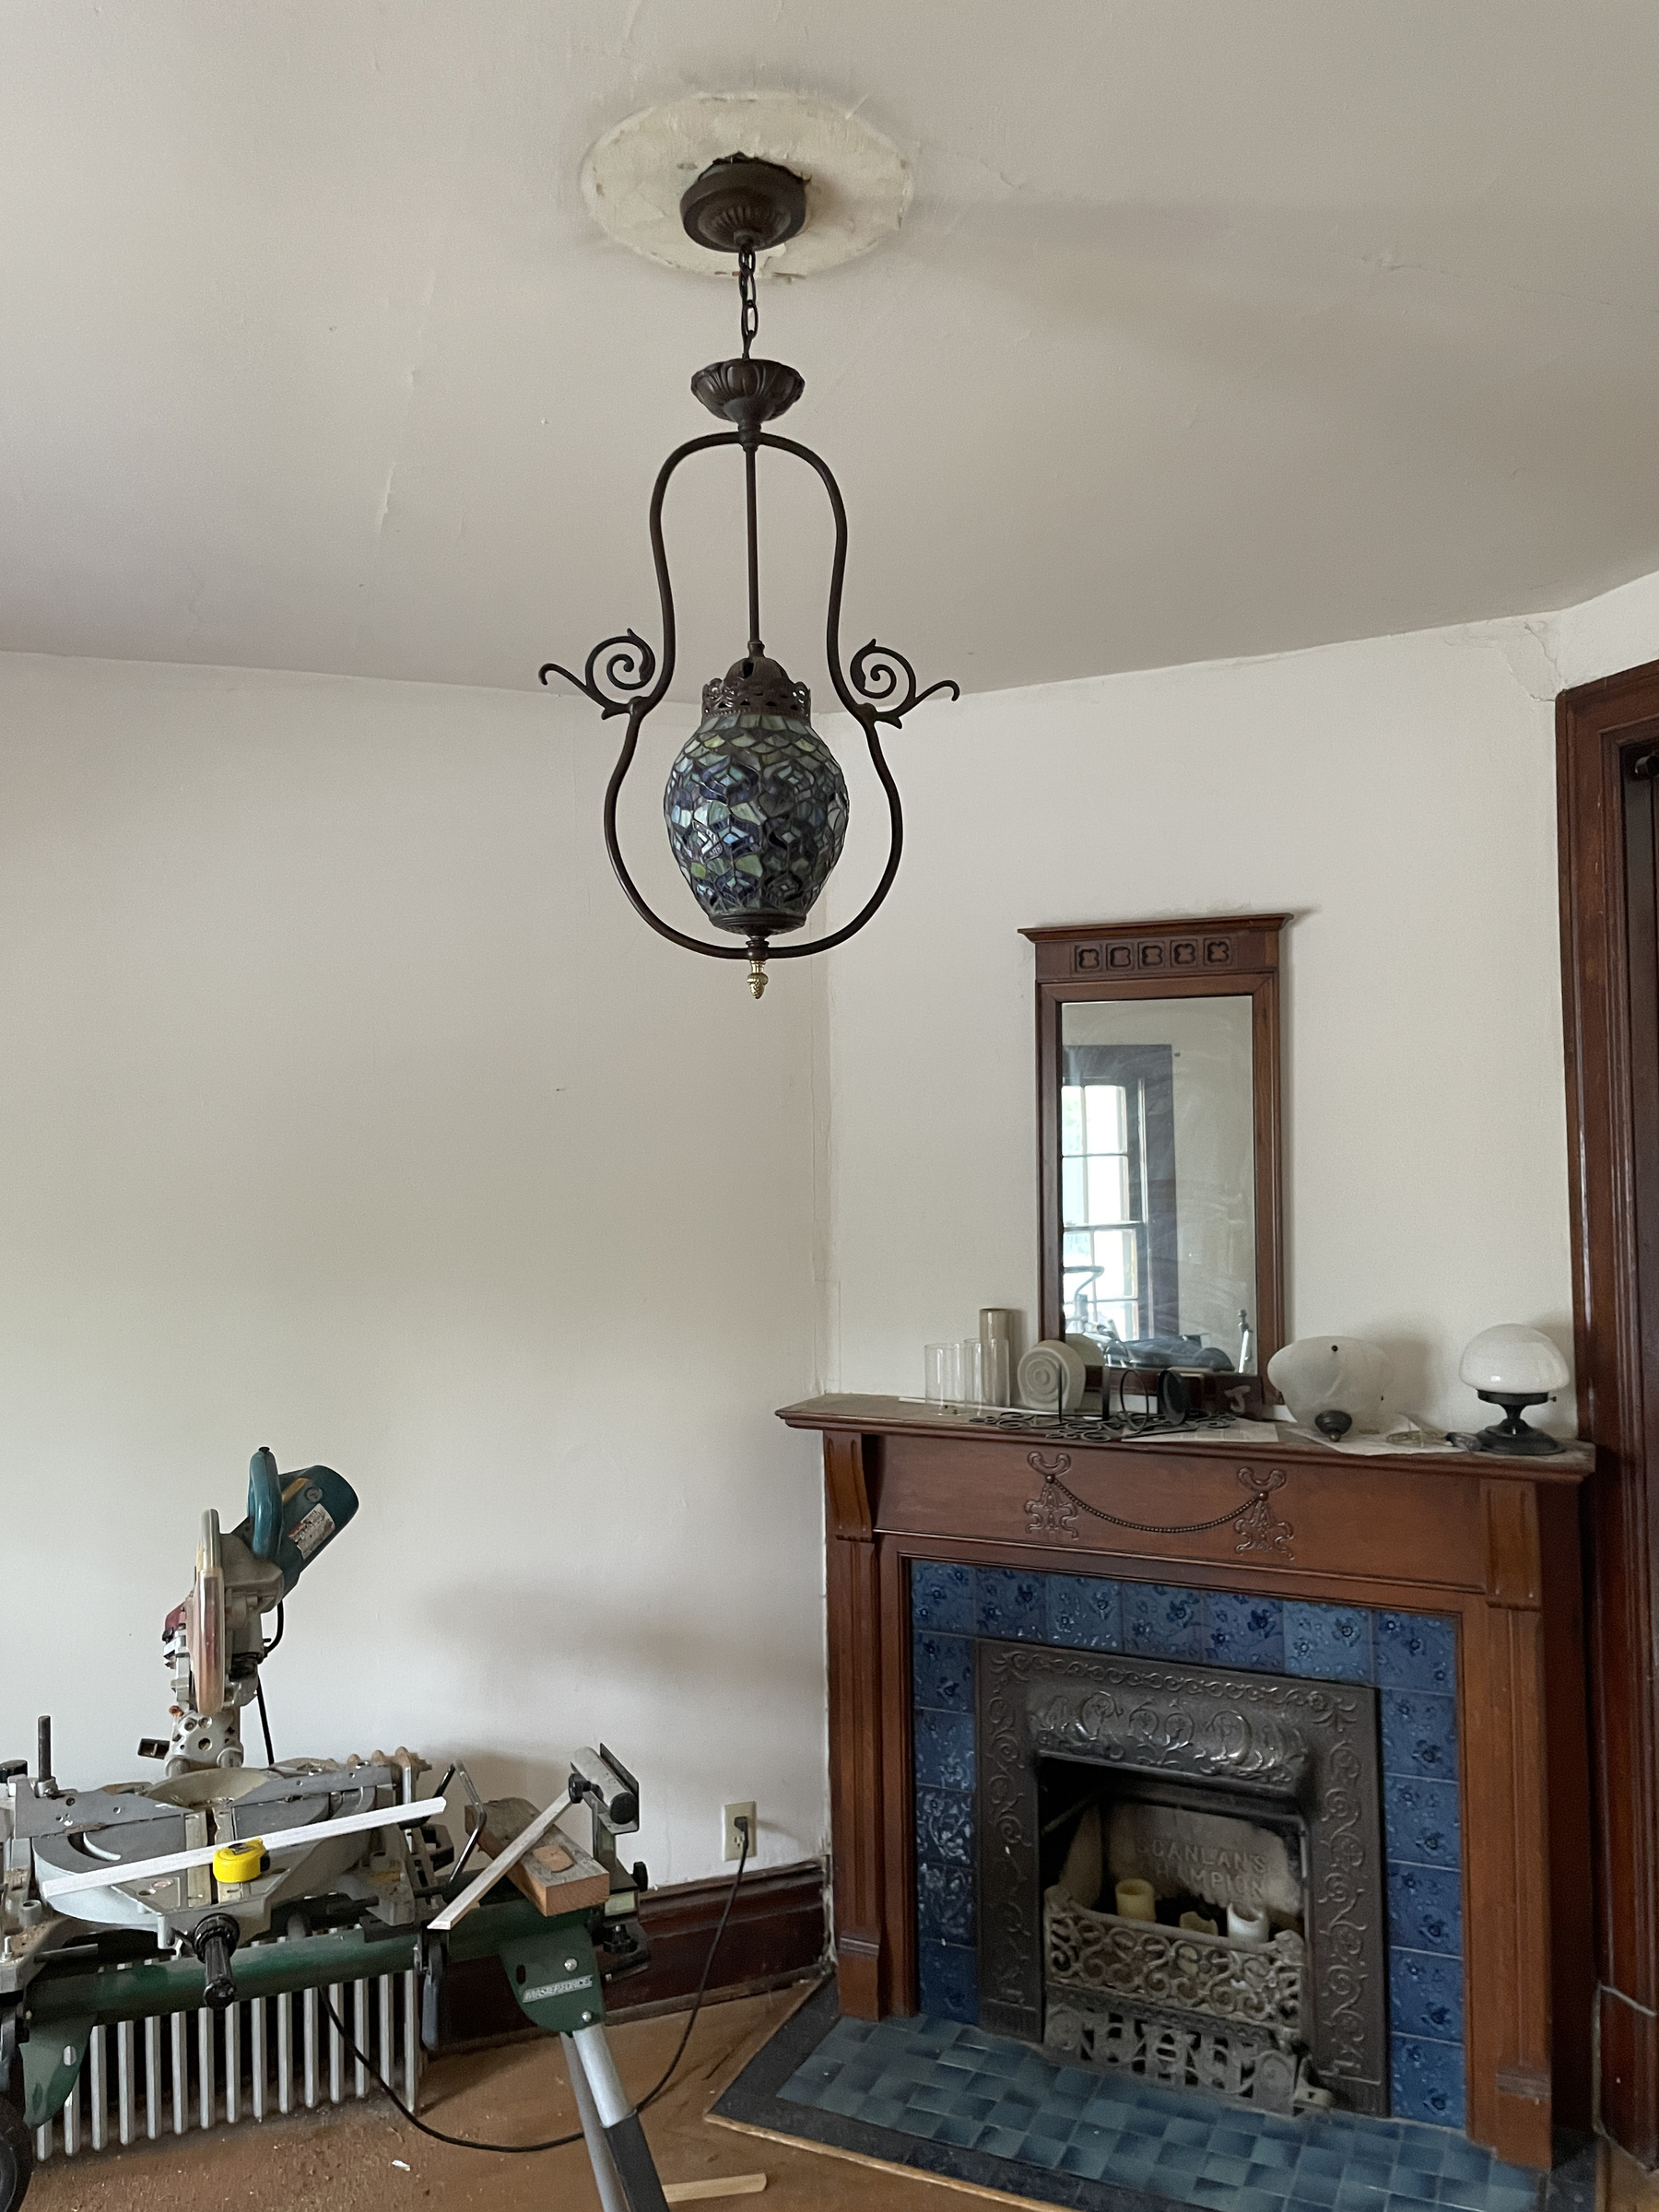
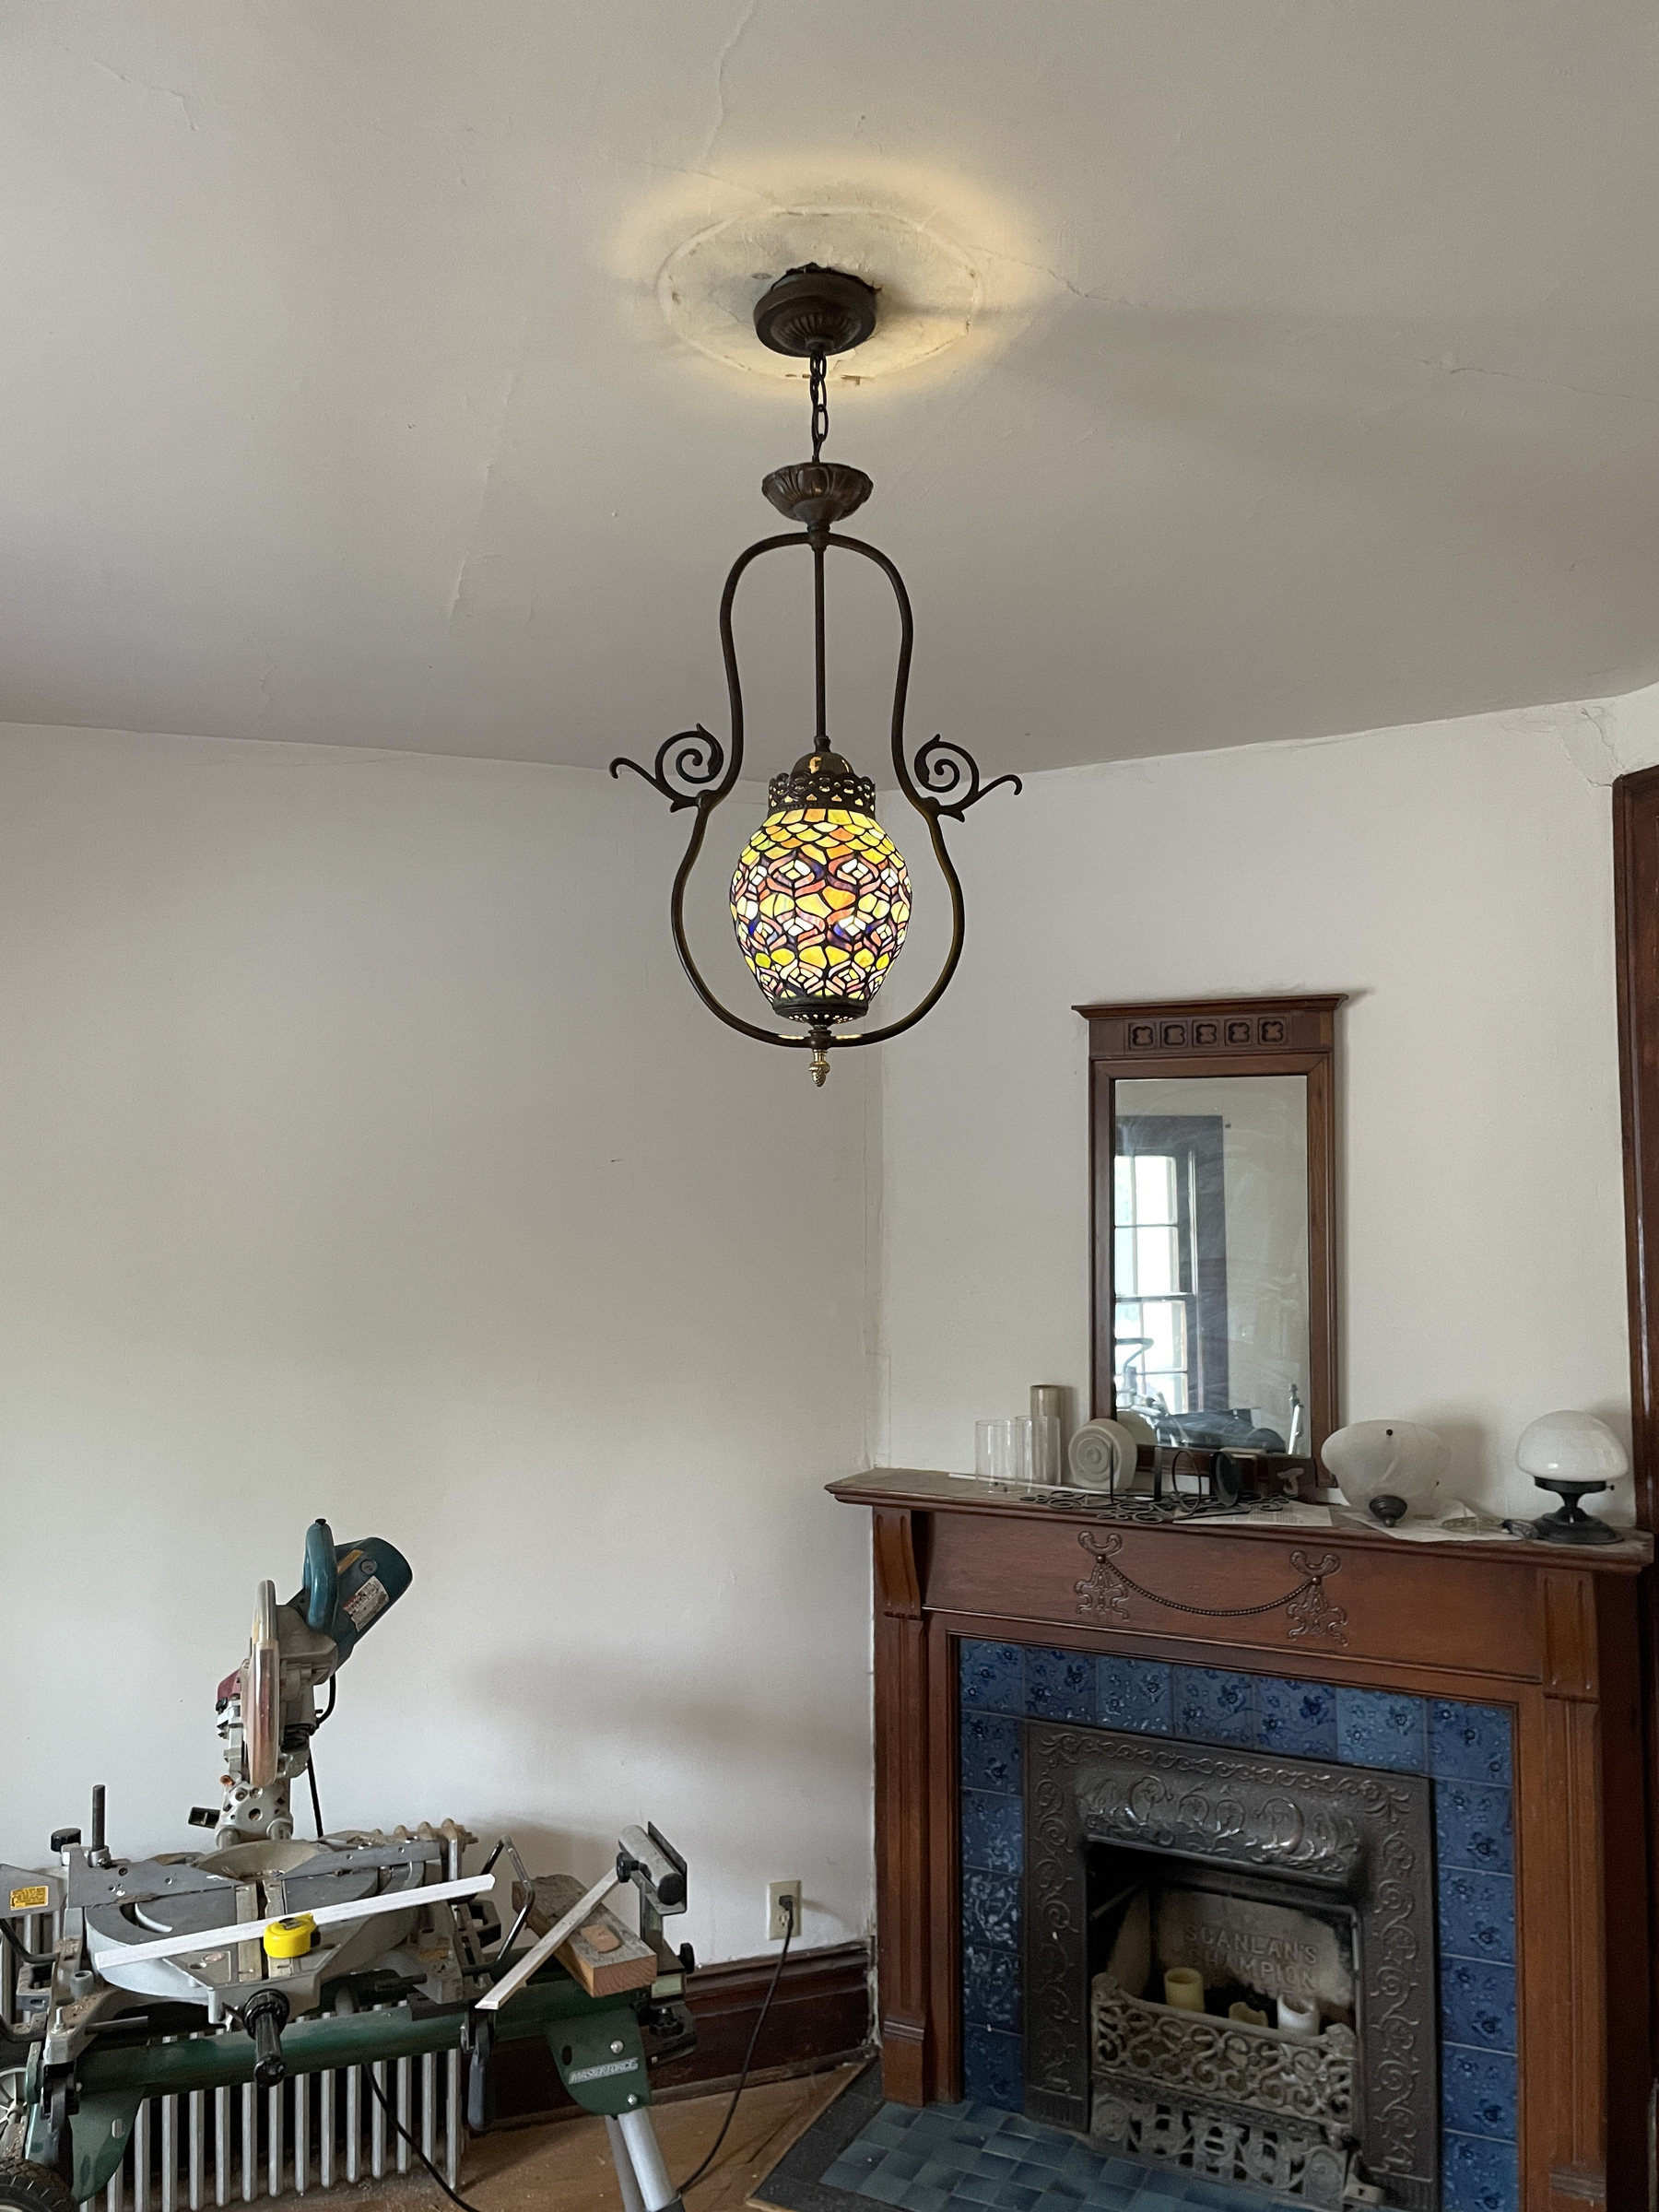
Swapped out some lights on the first floor today. Here’s a before and after of the dining room chandelier. Bonus, the new stained glass fixture in the parlor.


Restoration Pro Tip: After removing the old paint and cleaning up your hardware, you may find some rusting if you use water for that (like I do). You can use WD-40 to clean off the rust and then hit it with a bit of spray lacquer to prevent further rusting and make the hardware “pop”.

Built to Maintain

We often champion things that are built to last; as we should. But we should also recognize those things that are built to maintain. Which, in my mind, is a key element of lasting.
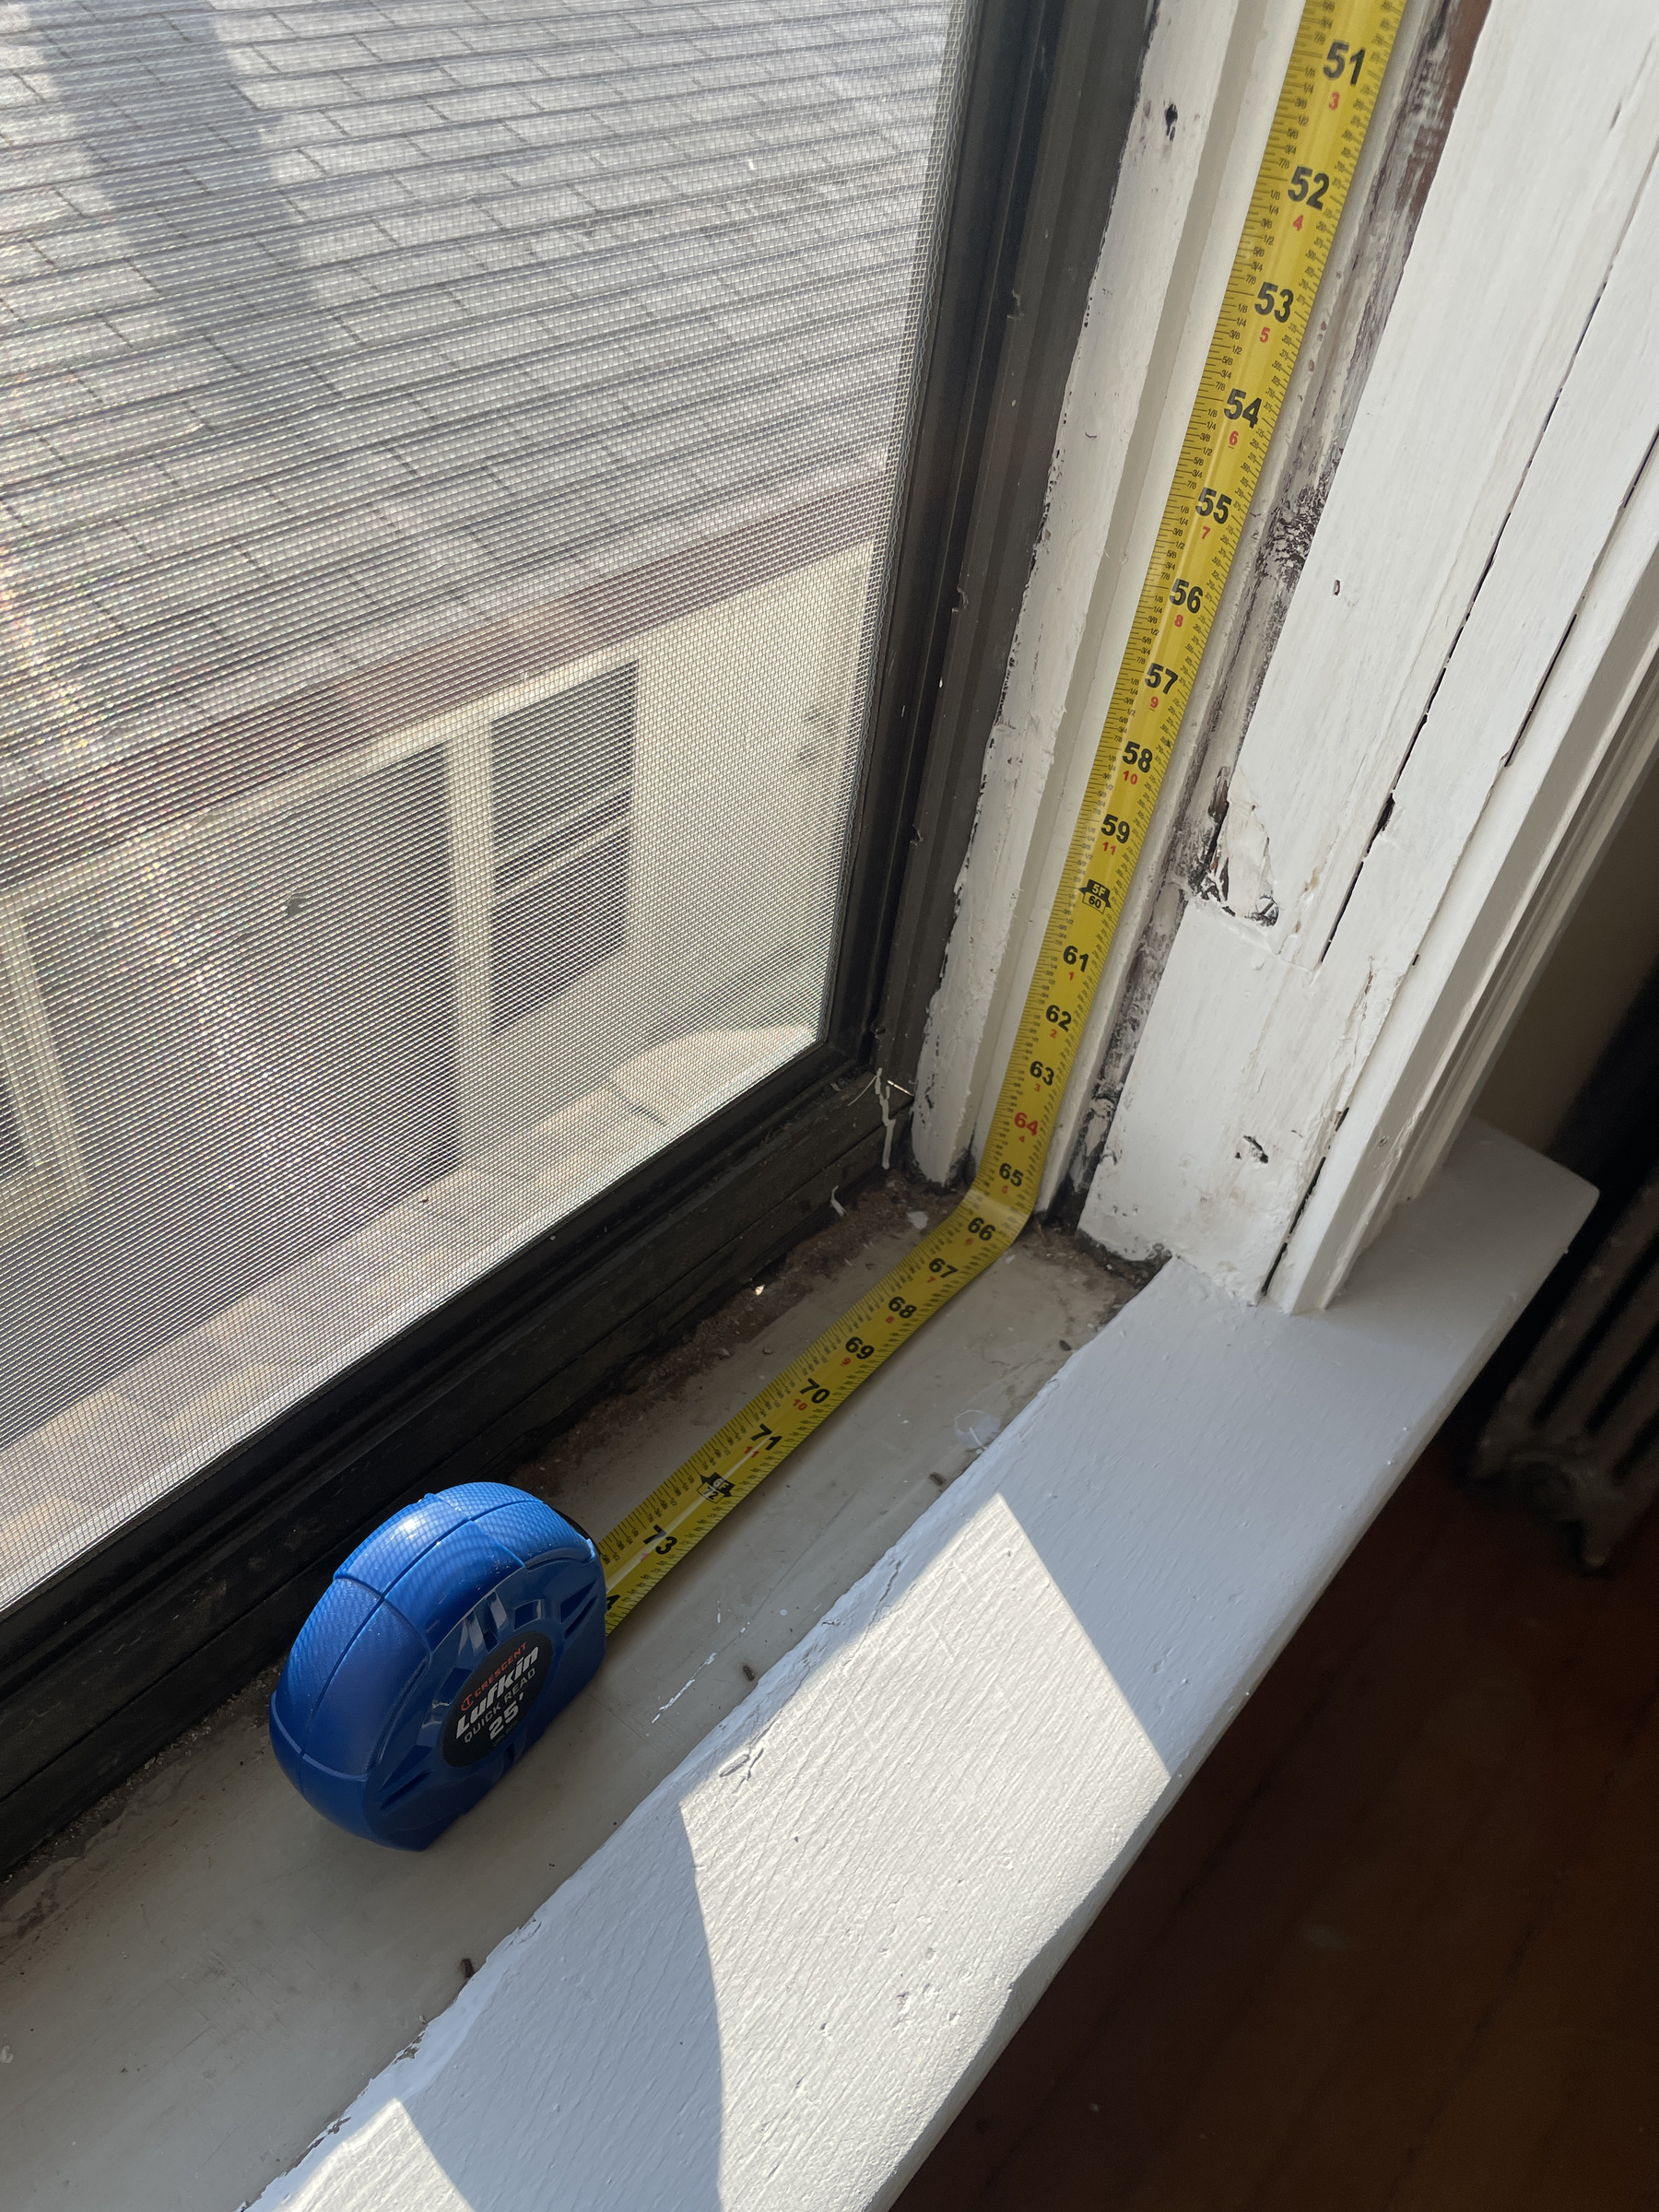
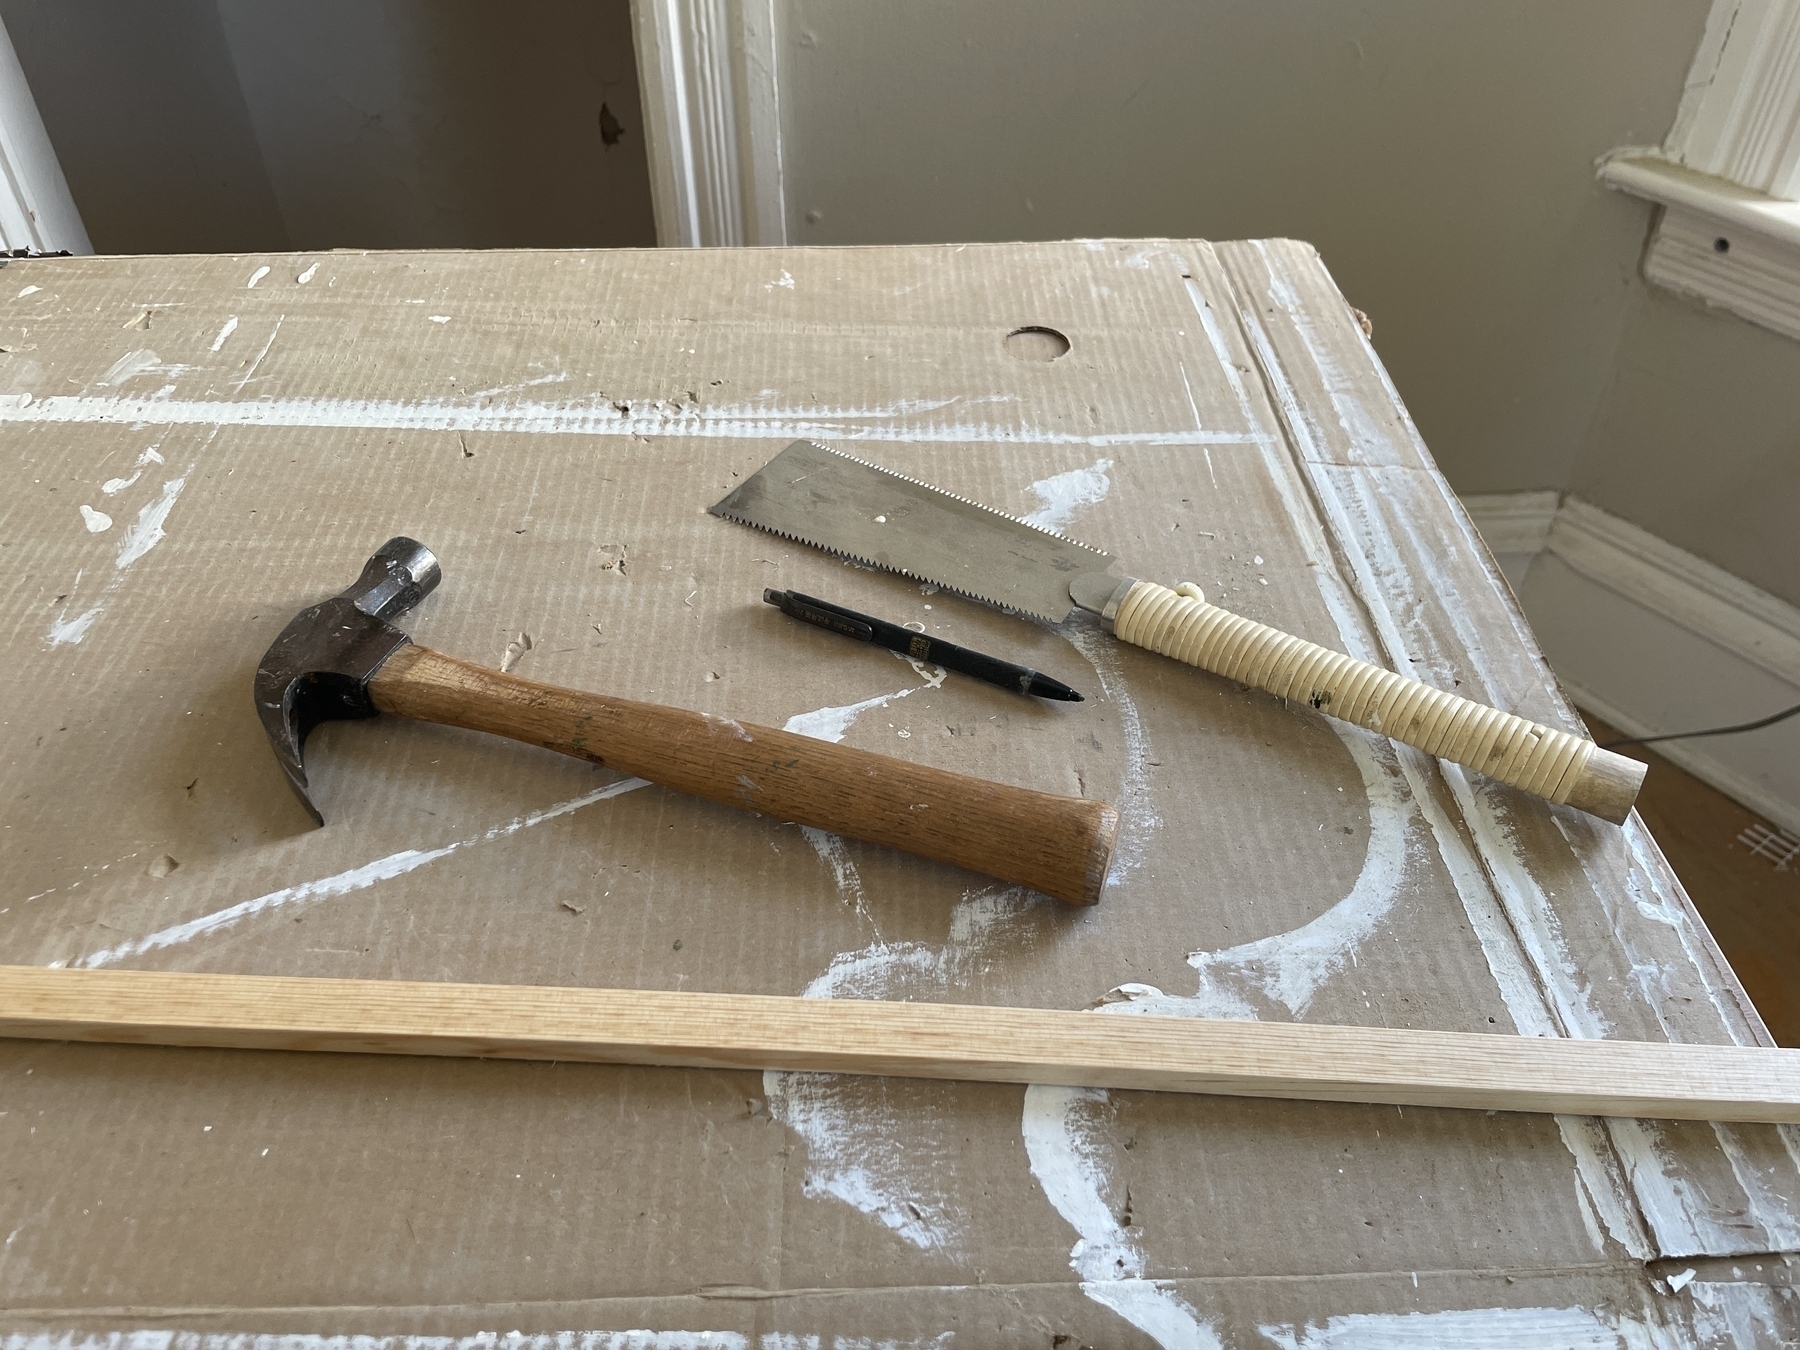
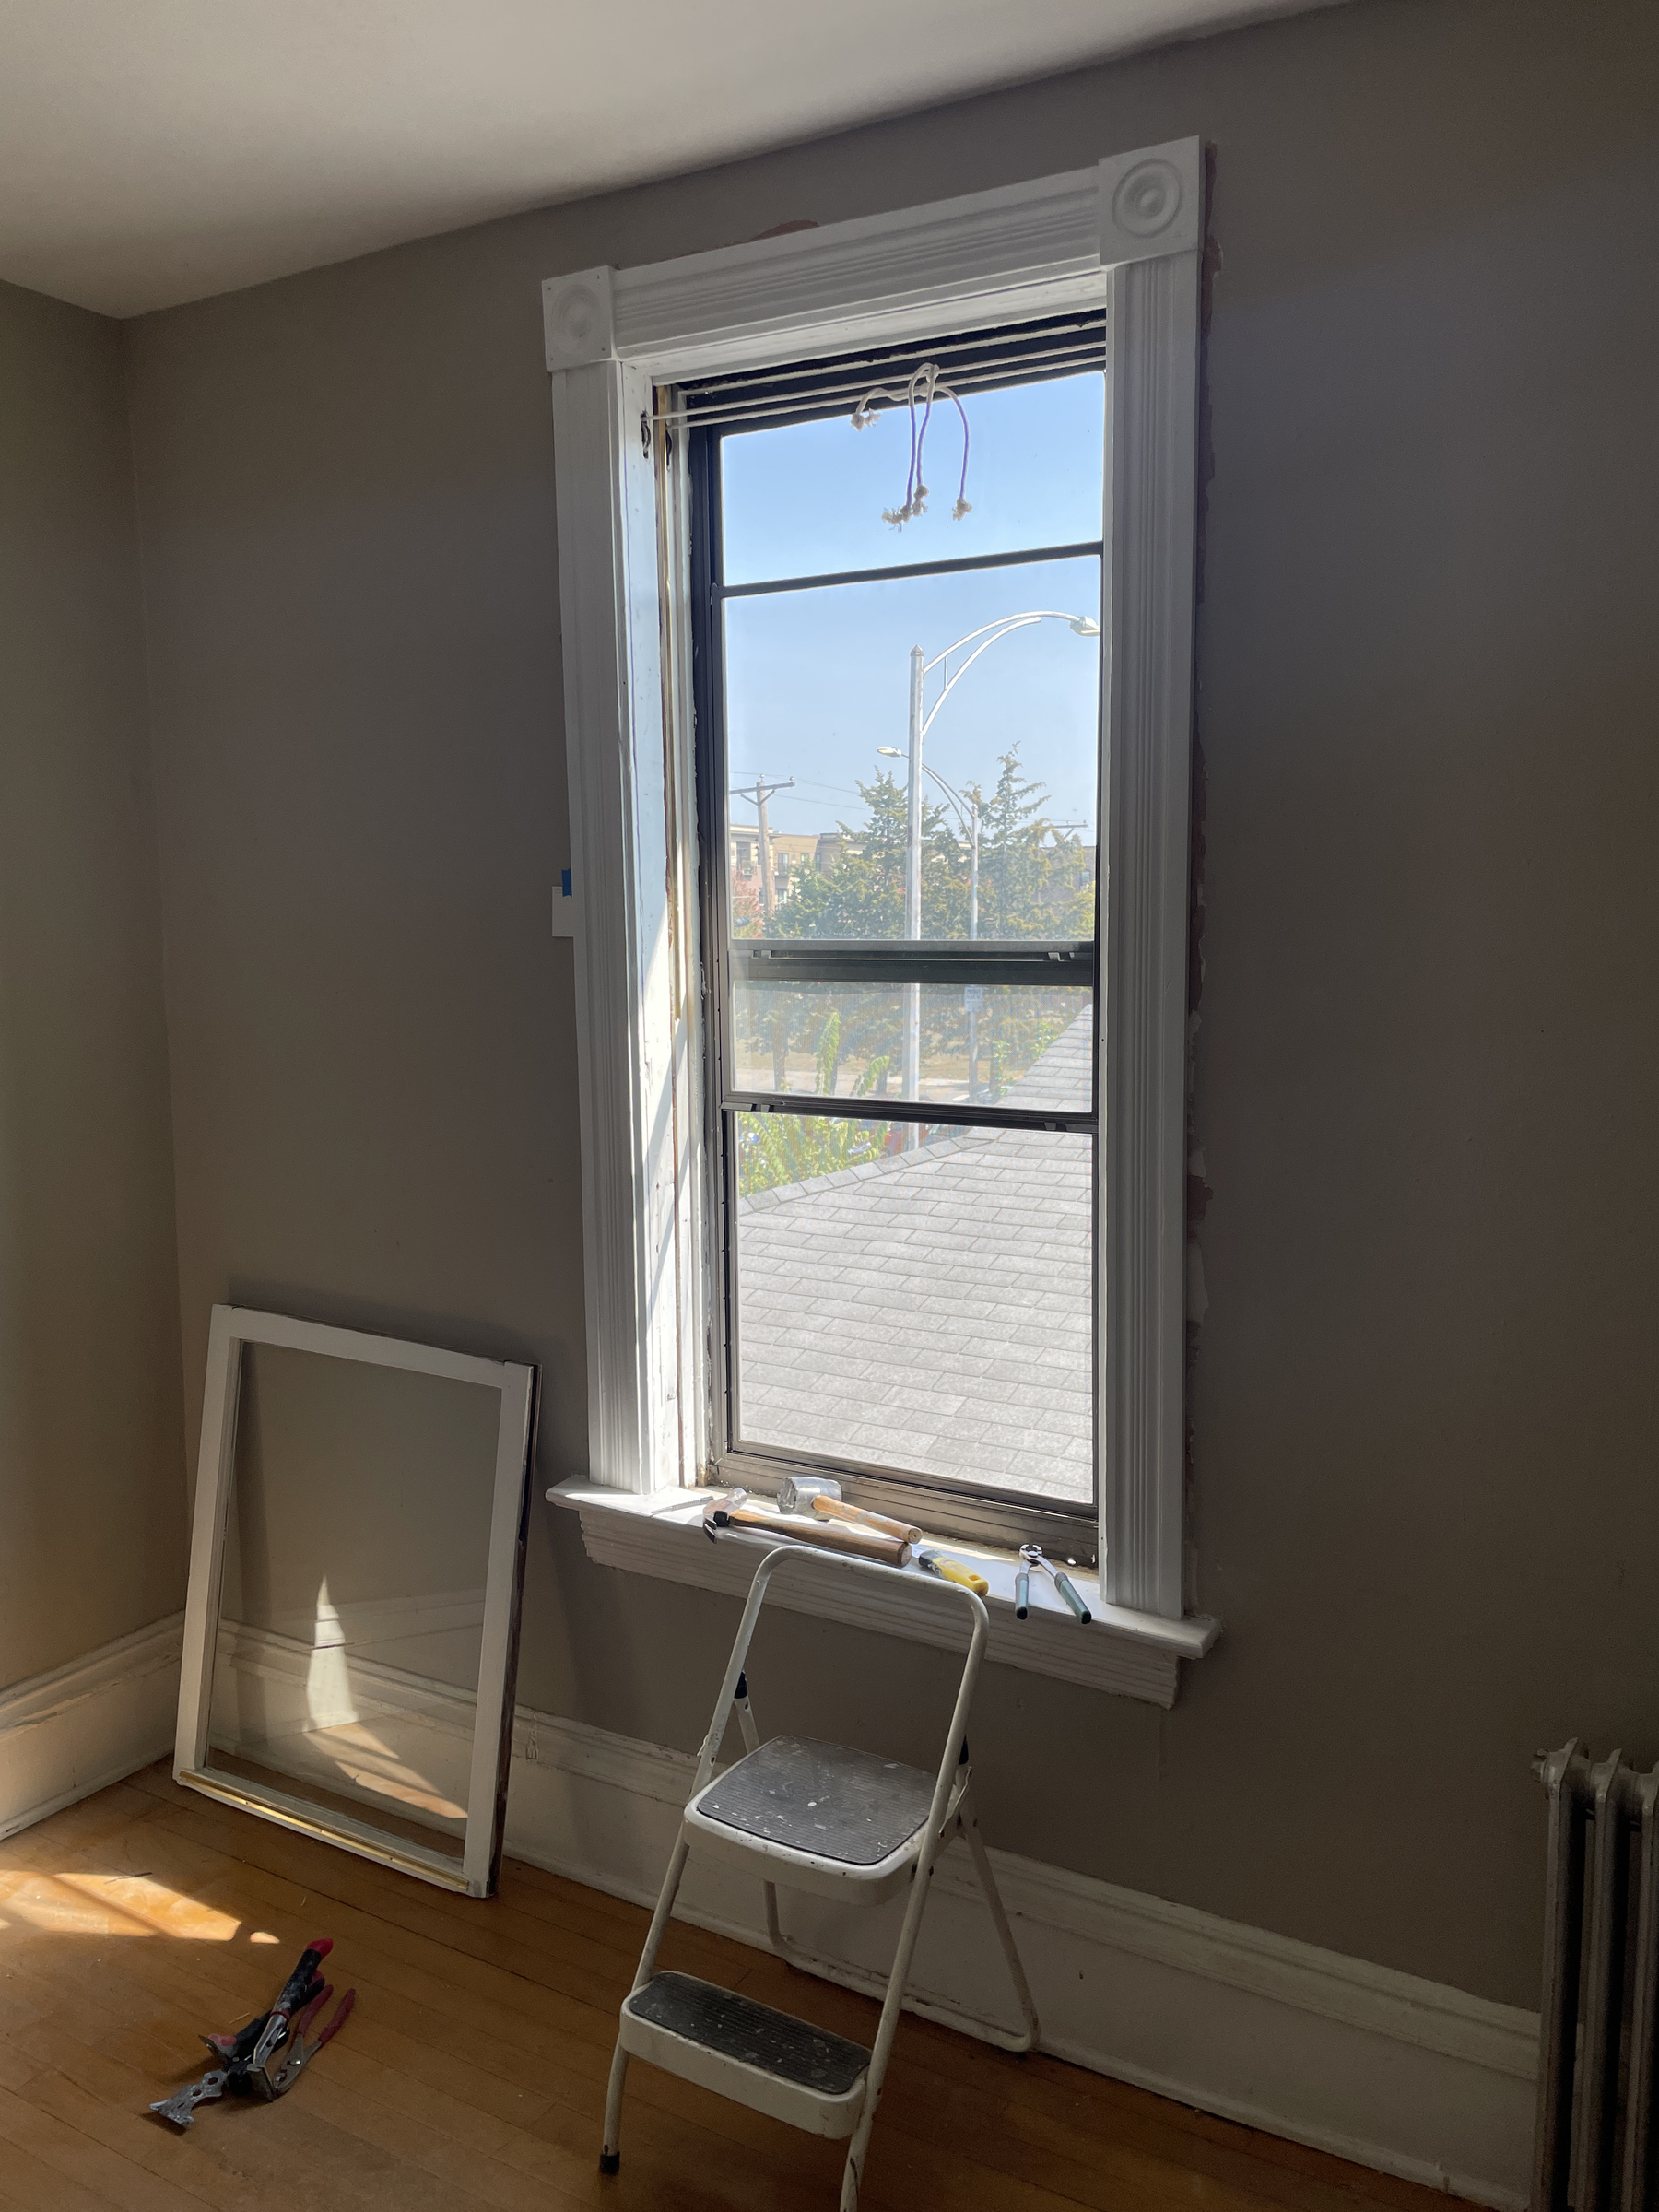
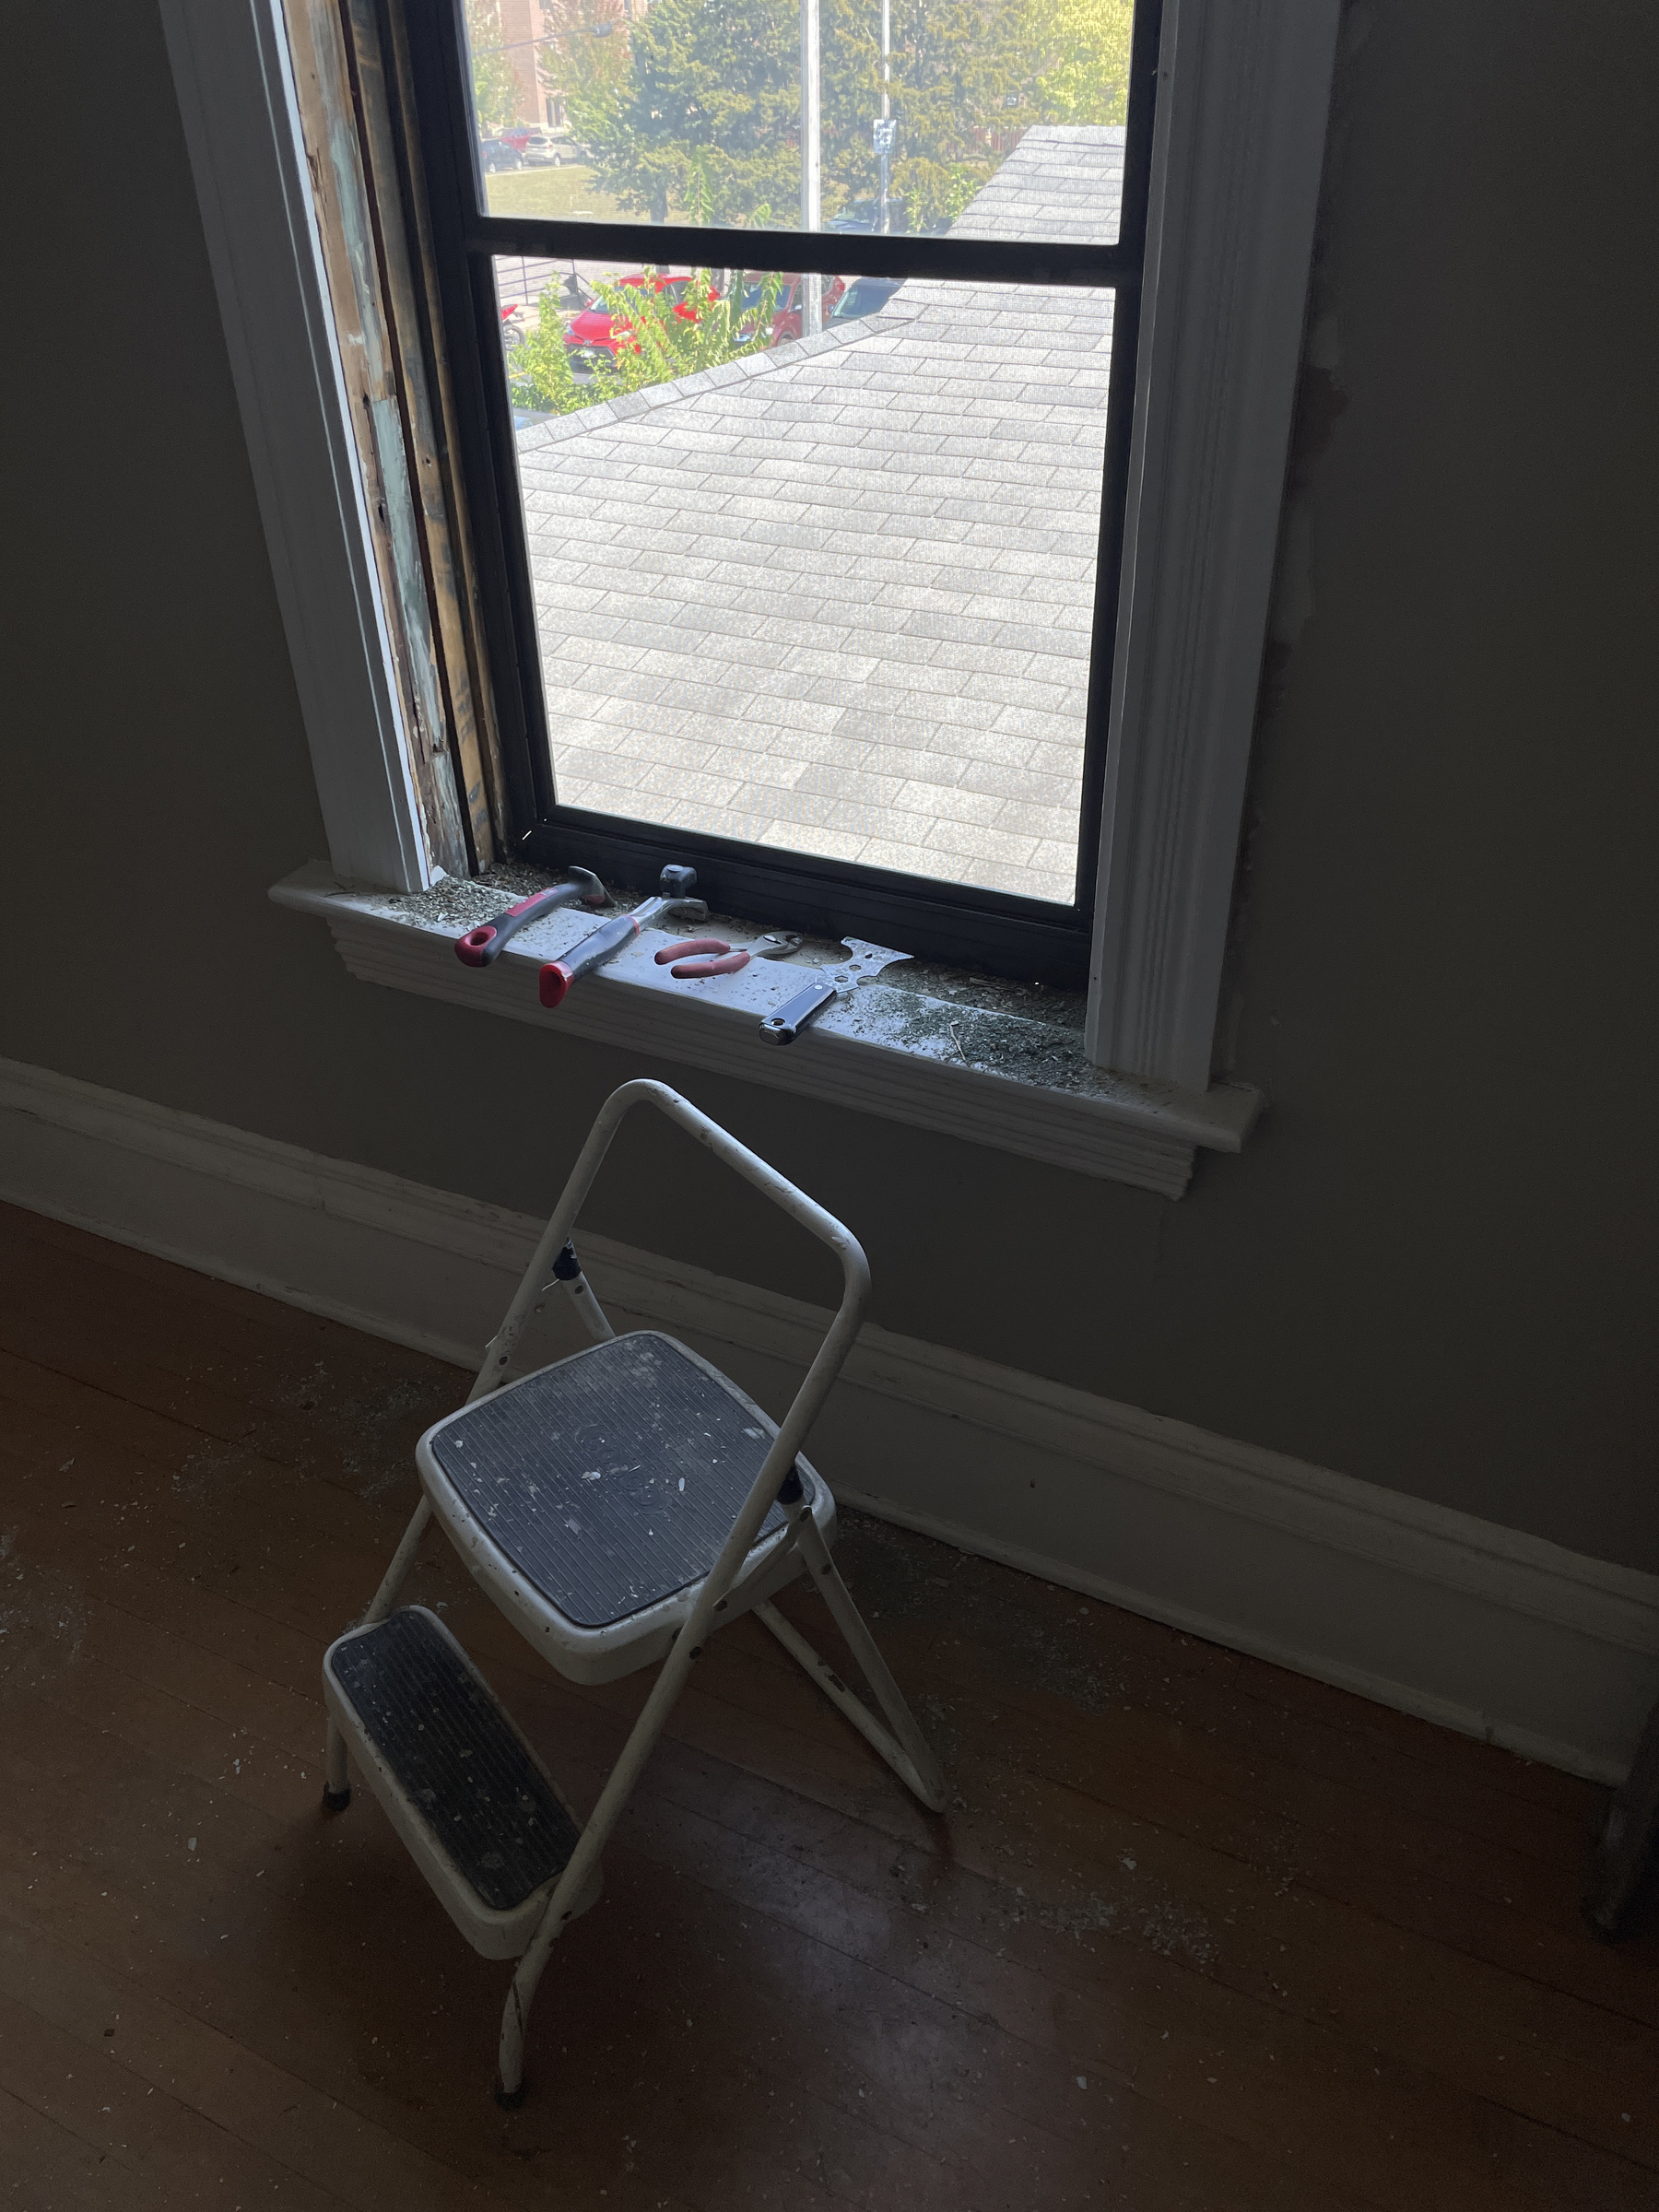
The windows I'm restoring at the Hague House are original to the house — 130 years old. They were not only built to last, they were also built to maintain. The sashes, stops, ropes, and weights were meant to be removed easily using nothing but a screwdriver. This way, one could replace broken parts, re-glaze the panes, or clean the exterior side.
Over the years, that maintenance was stifled by choices made for the sake of form over function. Nailing in the stops and/or caulking the seams may look better to some eyes, but they make maintenance difficult. The thinking might have been, "Hey, these were designed to last 100+ years so if we glue and nail these stops in it shouldn't matter, right?”
Well, as I've paraphrased before, design is not just how it looks, design is how it works. And, when that rope inevitably wears and breaks and the weight falls to the bottom, one will need more than a screwdriver to take things apart to fix it (not to mention to put them back together again).
This is why it's important to replace the weather striping for the windows with similar v-spring brass weather stripping. The original was rated to last for 100 years. So is the new stripping that is replacing it. This is why it's important to screw in the window stops decoratively, with a washer, so it both looks good and is easy to remove without damaging the stop in the process. This is why we've made sure the access panels for the weights are not painted shut. This is why we've made sure both the top and bottom sashes on each window work. These were to help regulate temperature and airflow in any weather.
So, while I'm restoring the windows from a visual perspective, I'm more focused on restoring them from a functional perspective. And, in my mind, restoring the ability to easily maintain is the most important part of what I'm doing.
The sinks and various related appliances were all connected today. So we now have a fully operational kitchen and partially operational mud room (still need to hook up the washer/dryer.)
Oh, and we (actually, Jason brainstorming) built a platform to raise up the utility sink a bit.


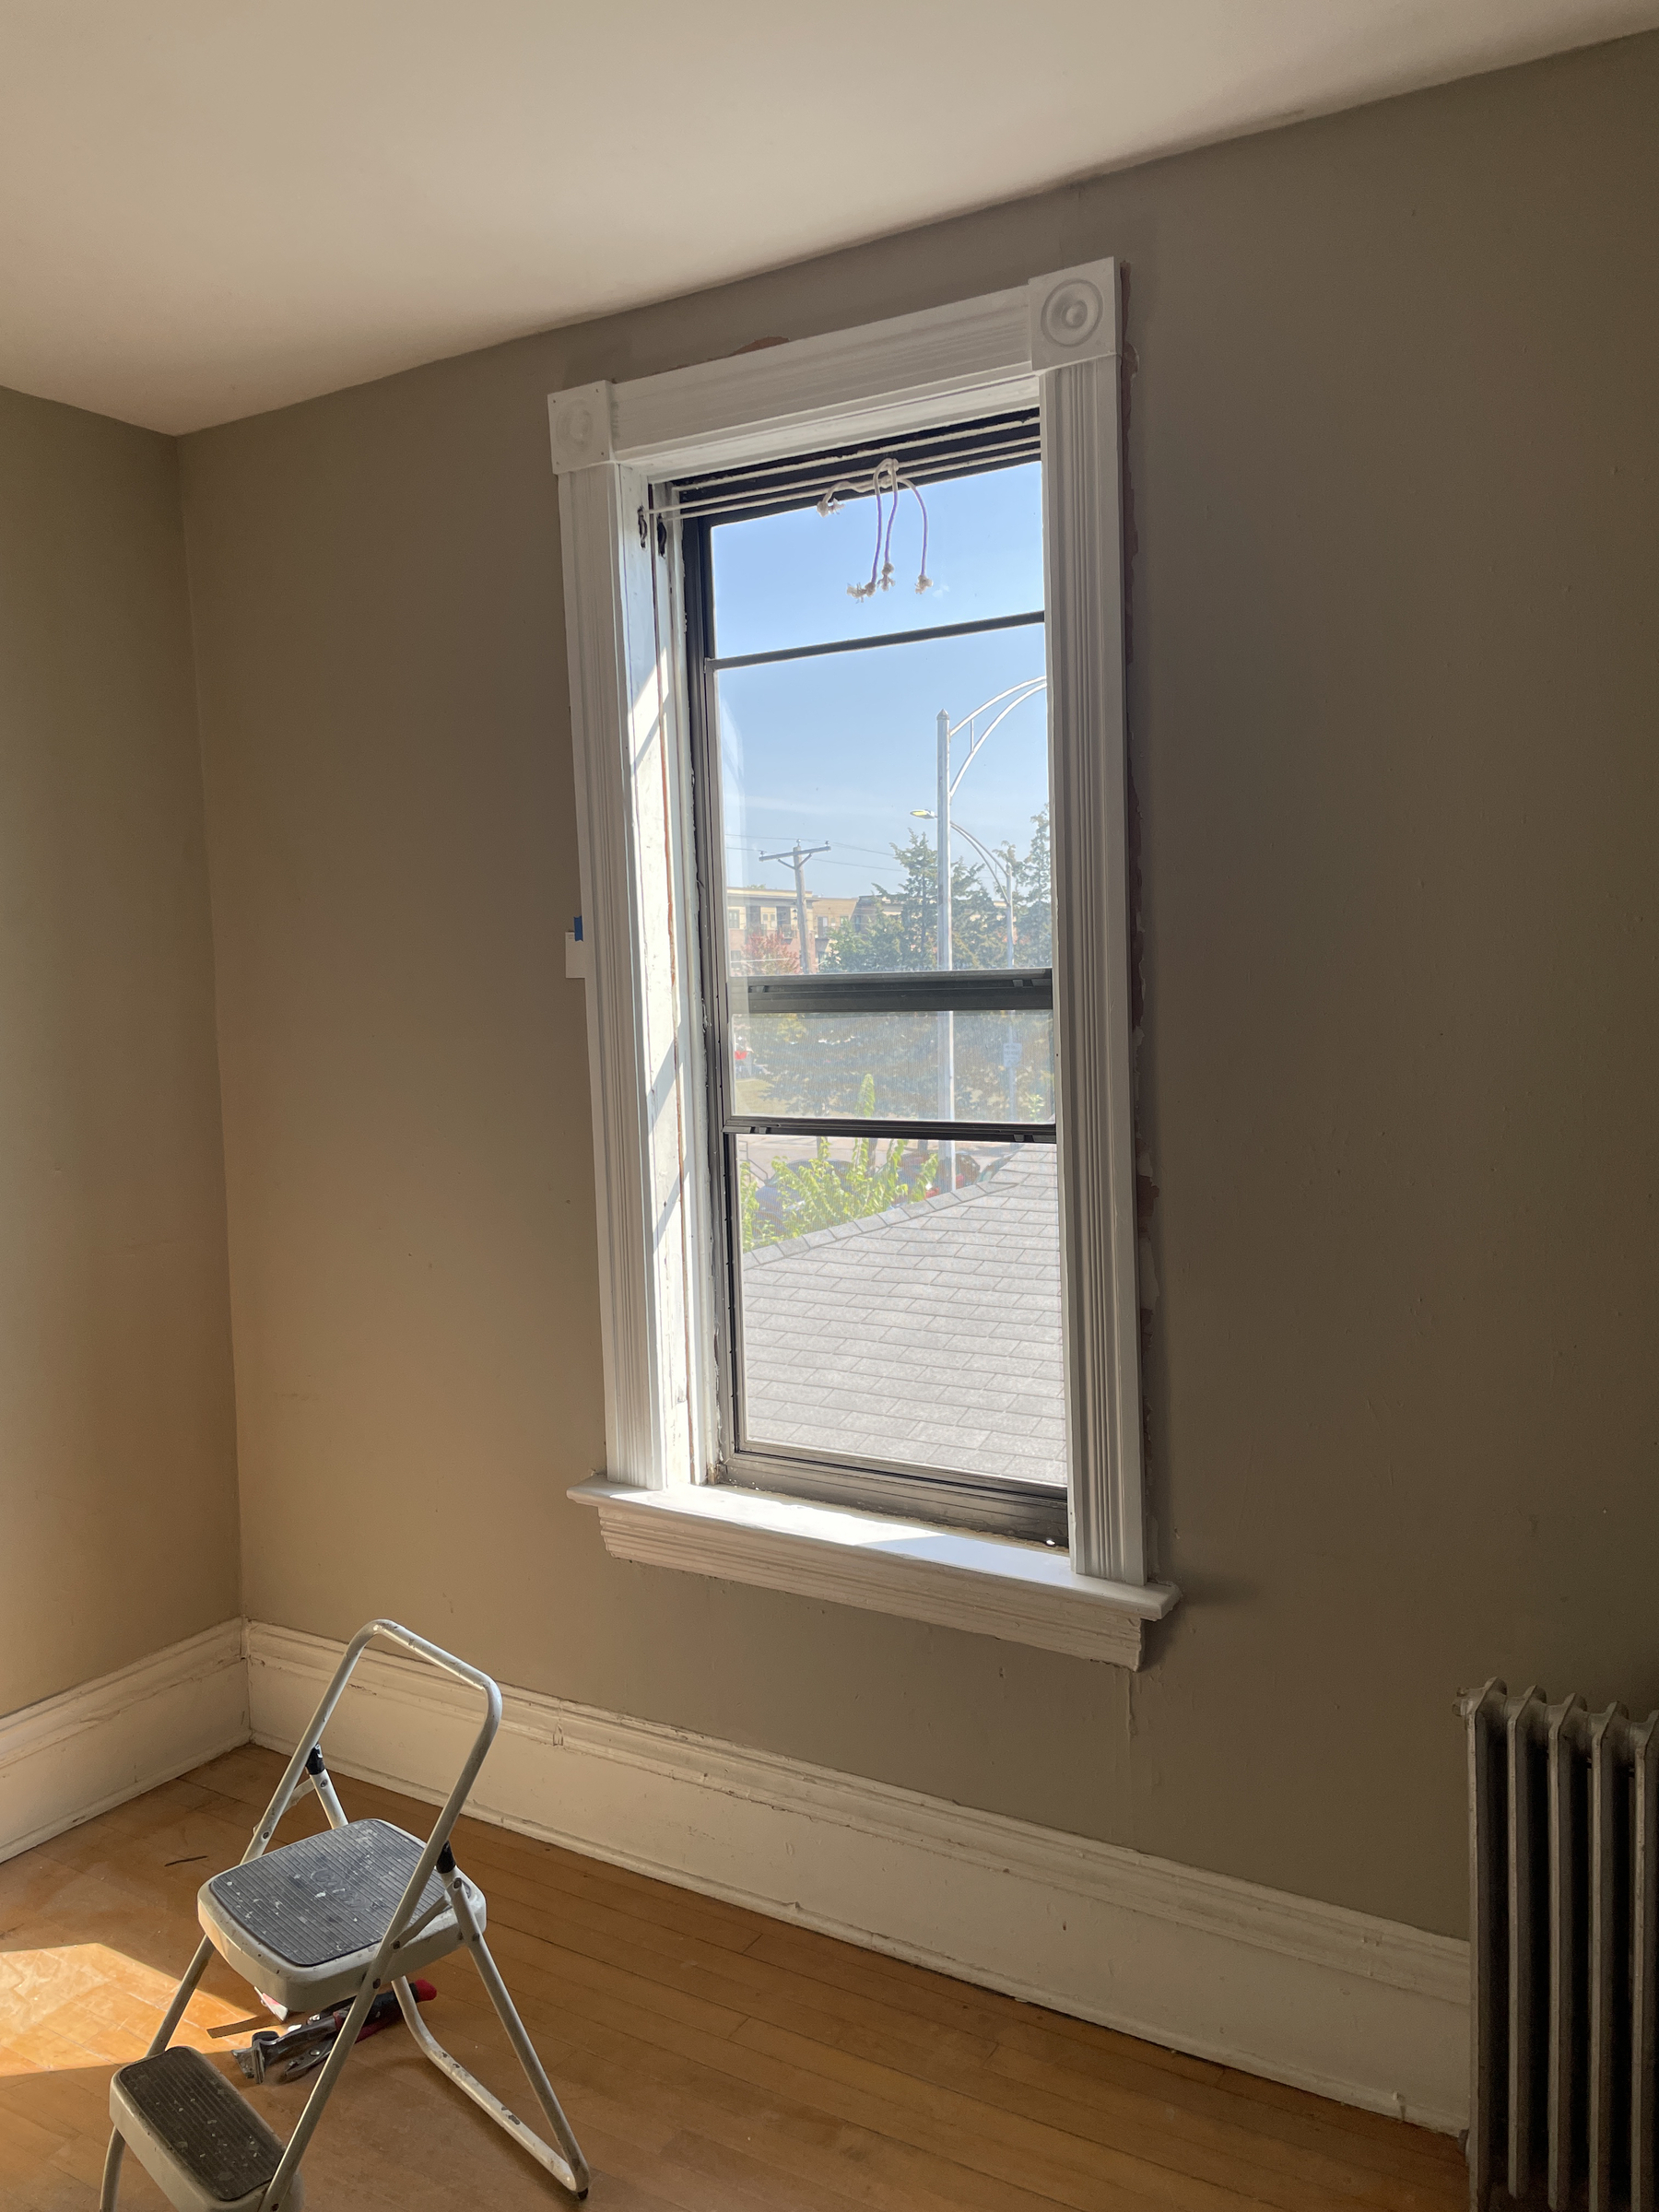
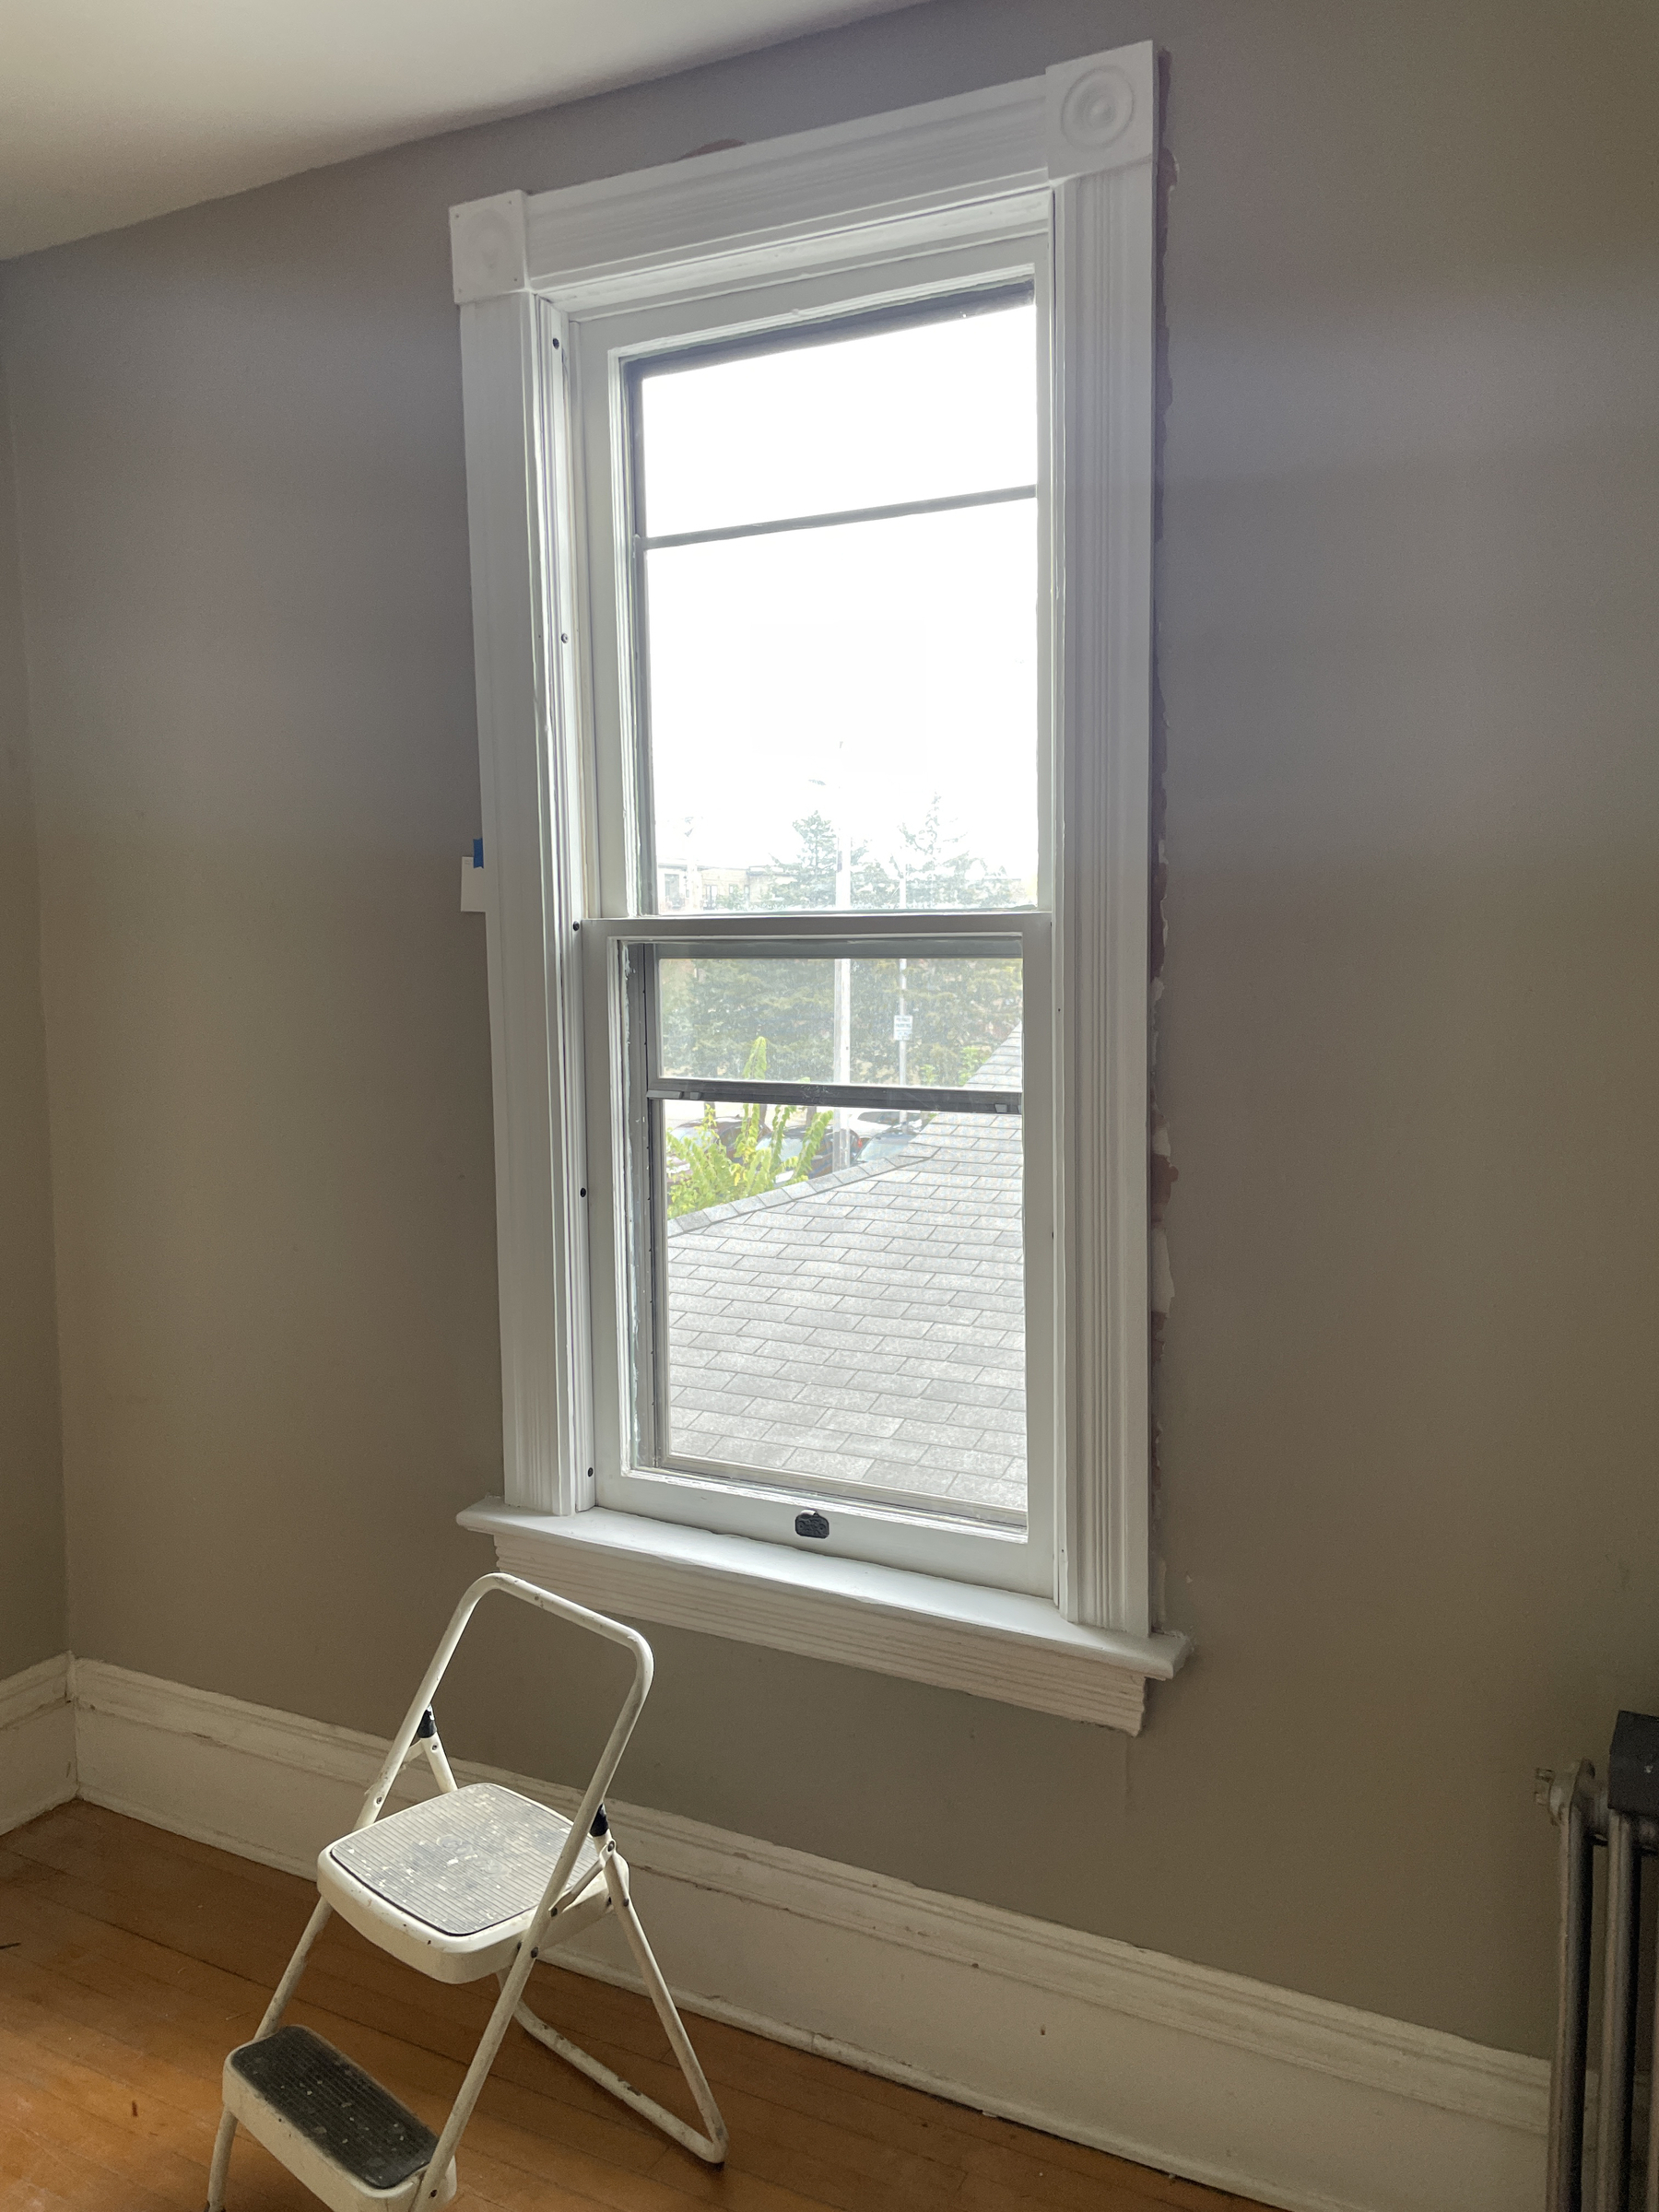
Next set of sashes restored. Once again, stops screwed in, not nailed, so easy to remove to clean or repair the sashes. As they were meant to be.


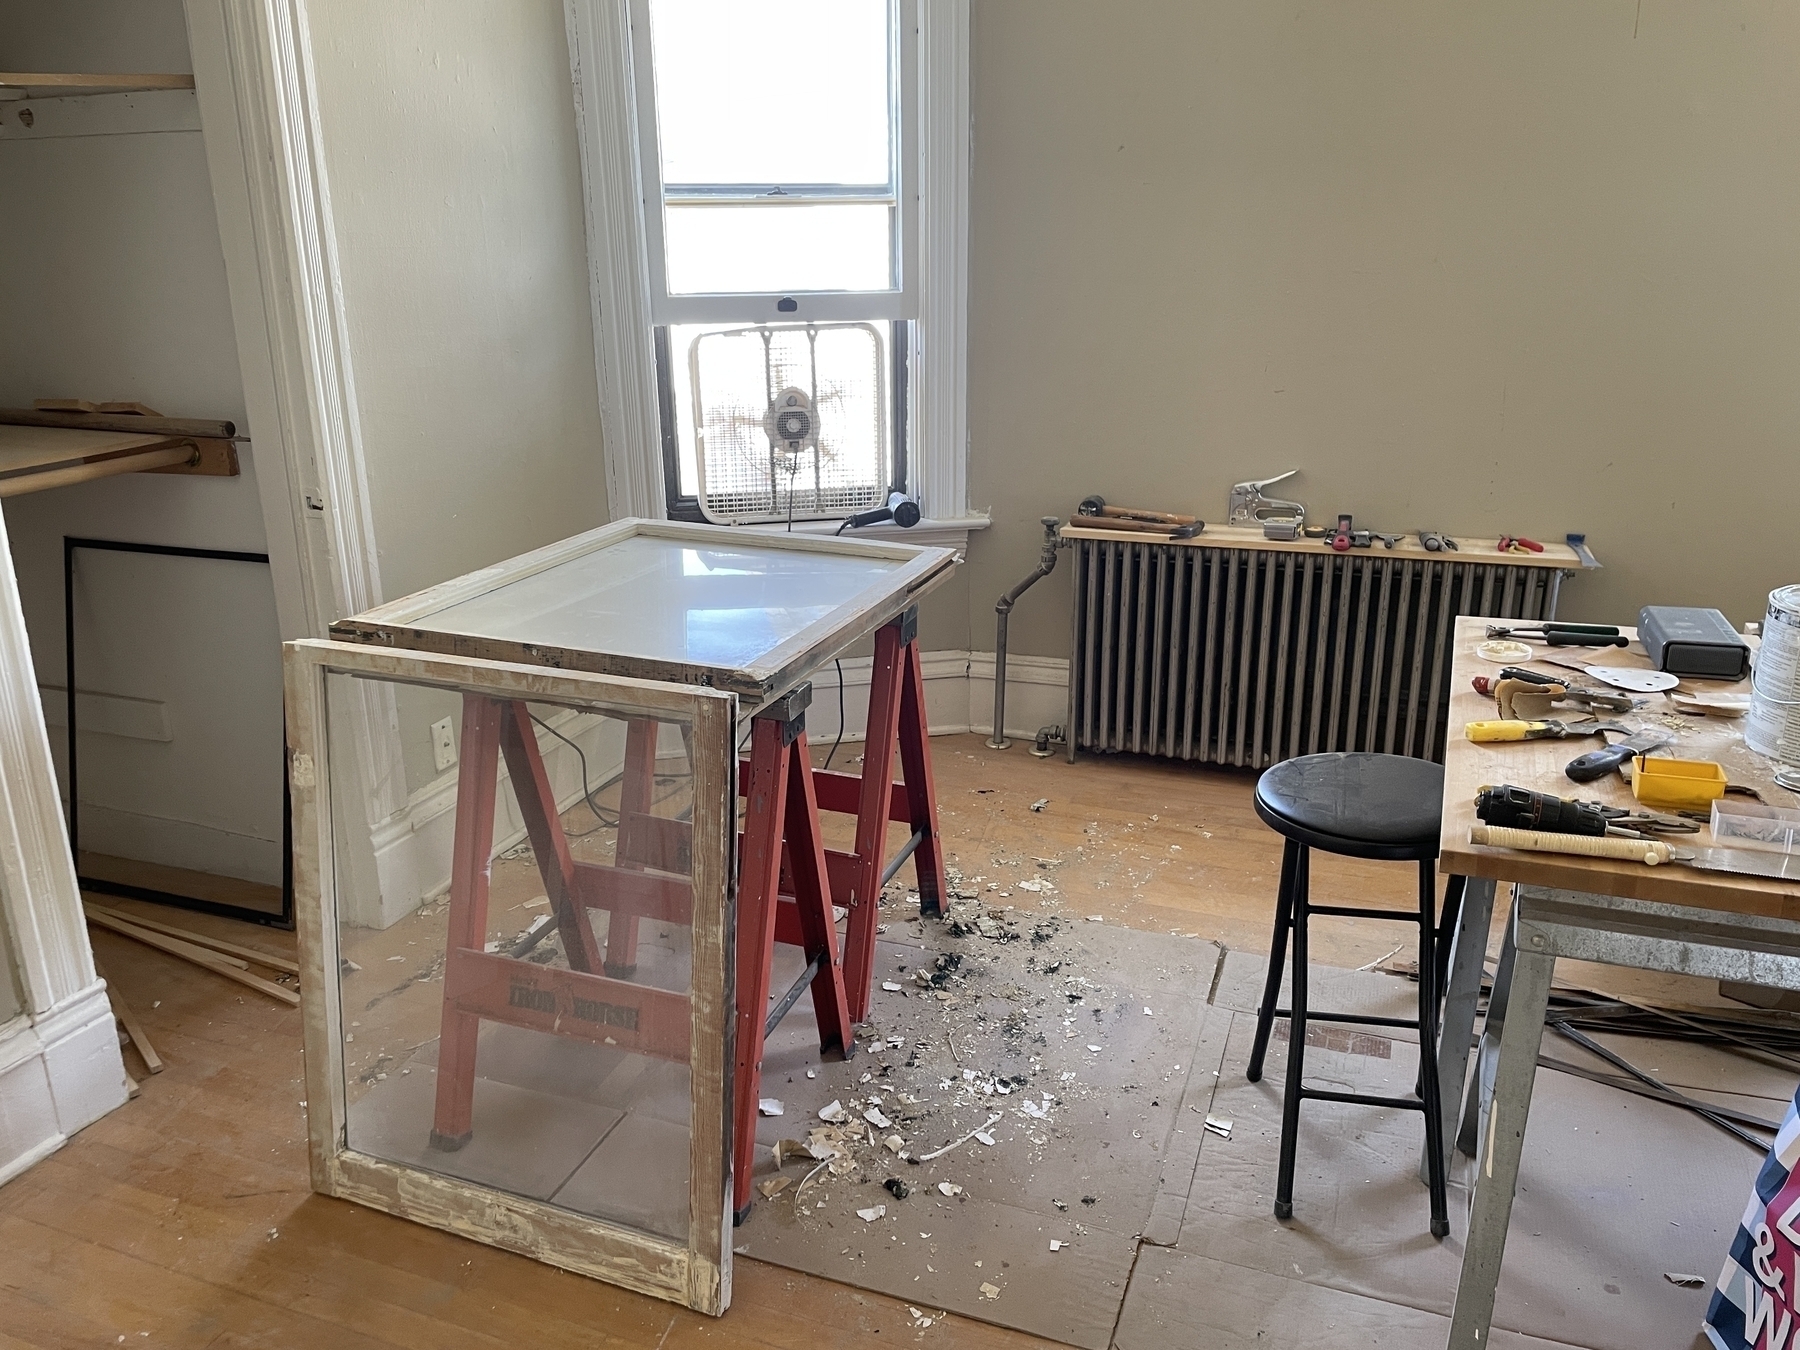
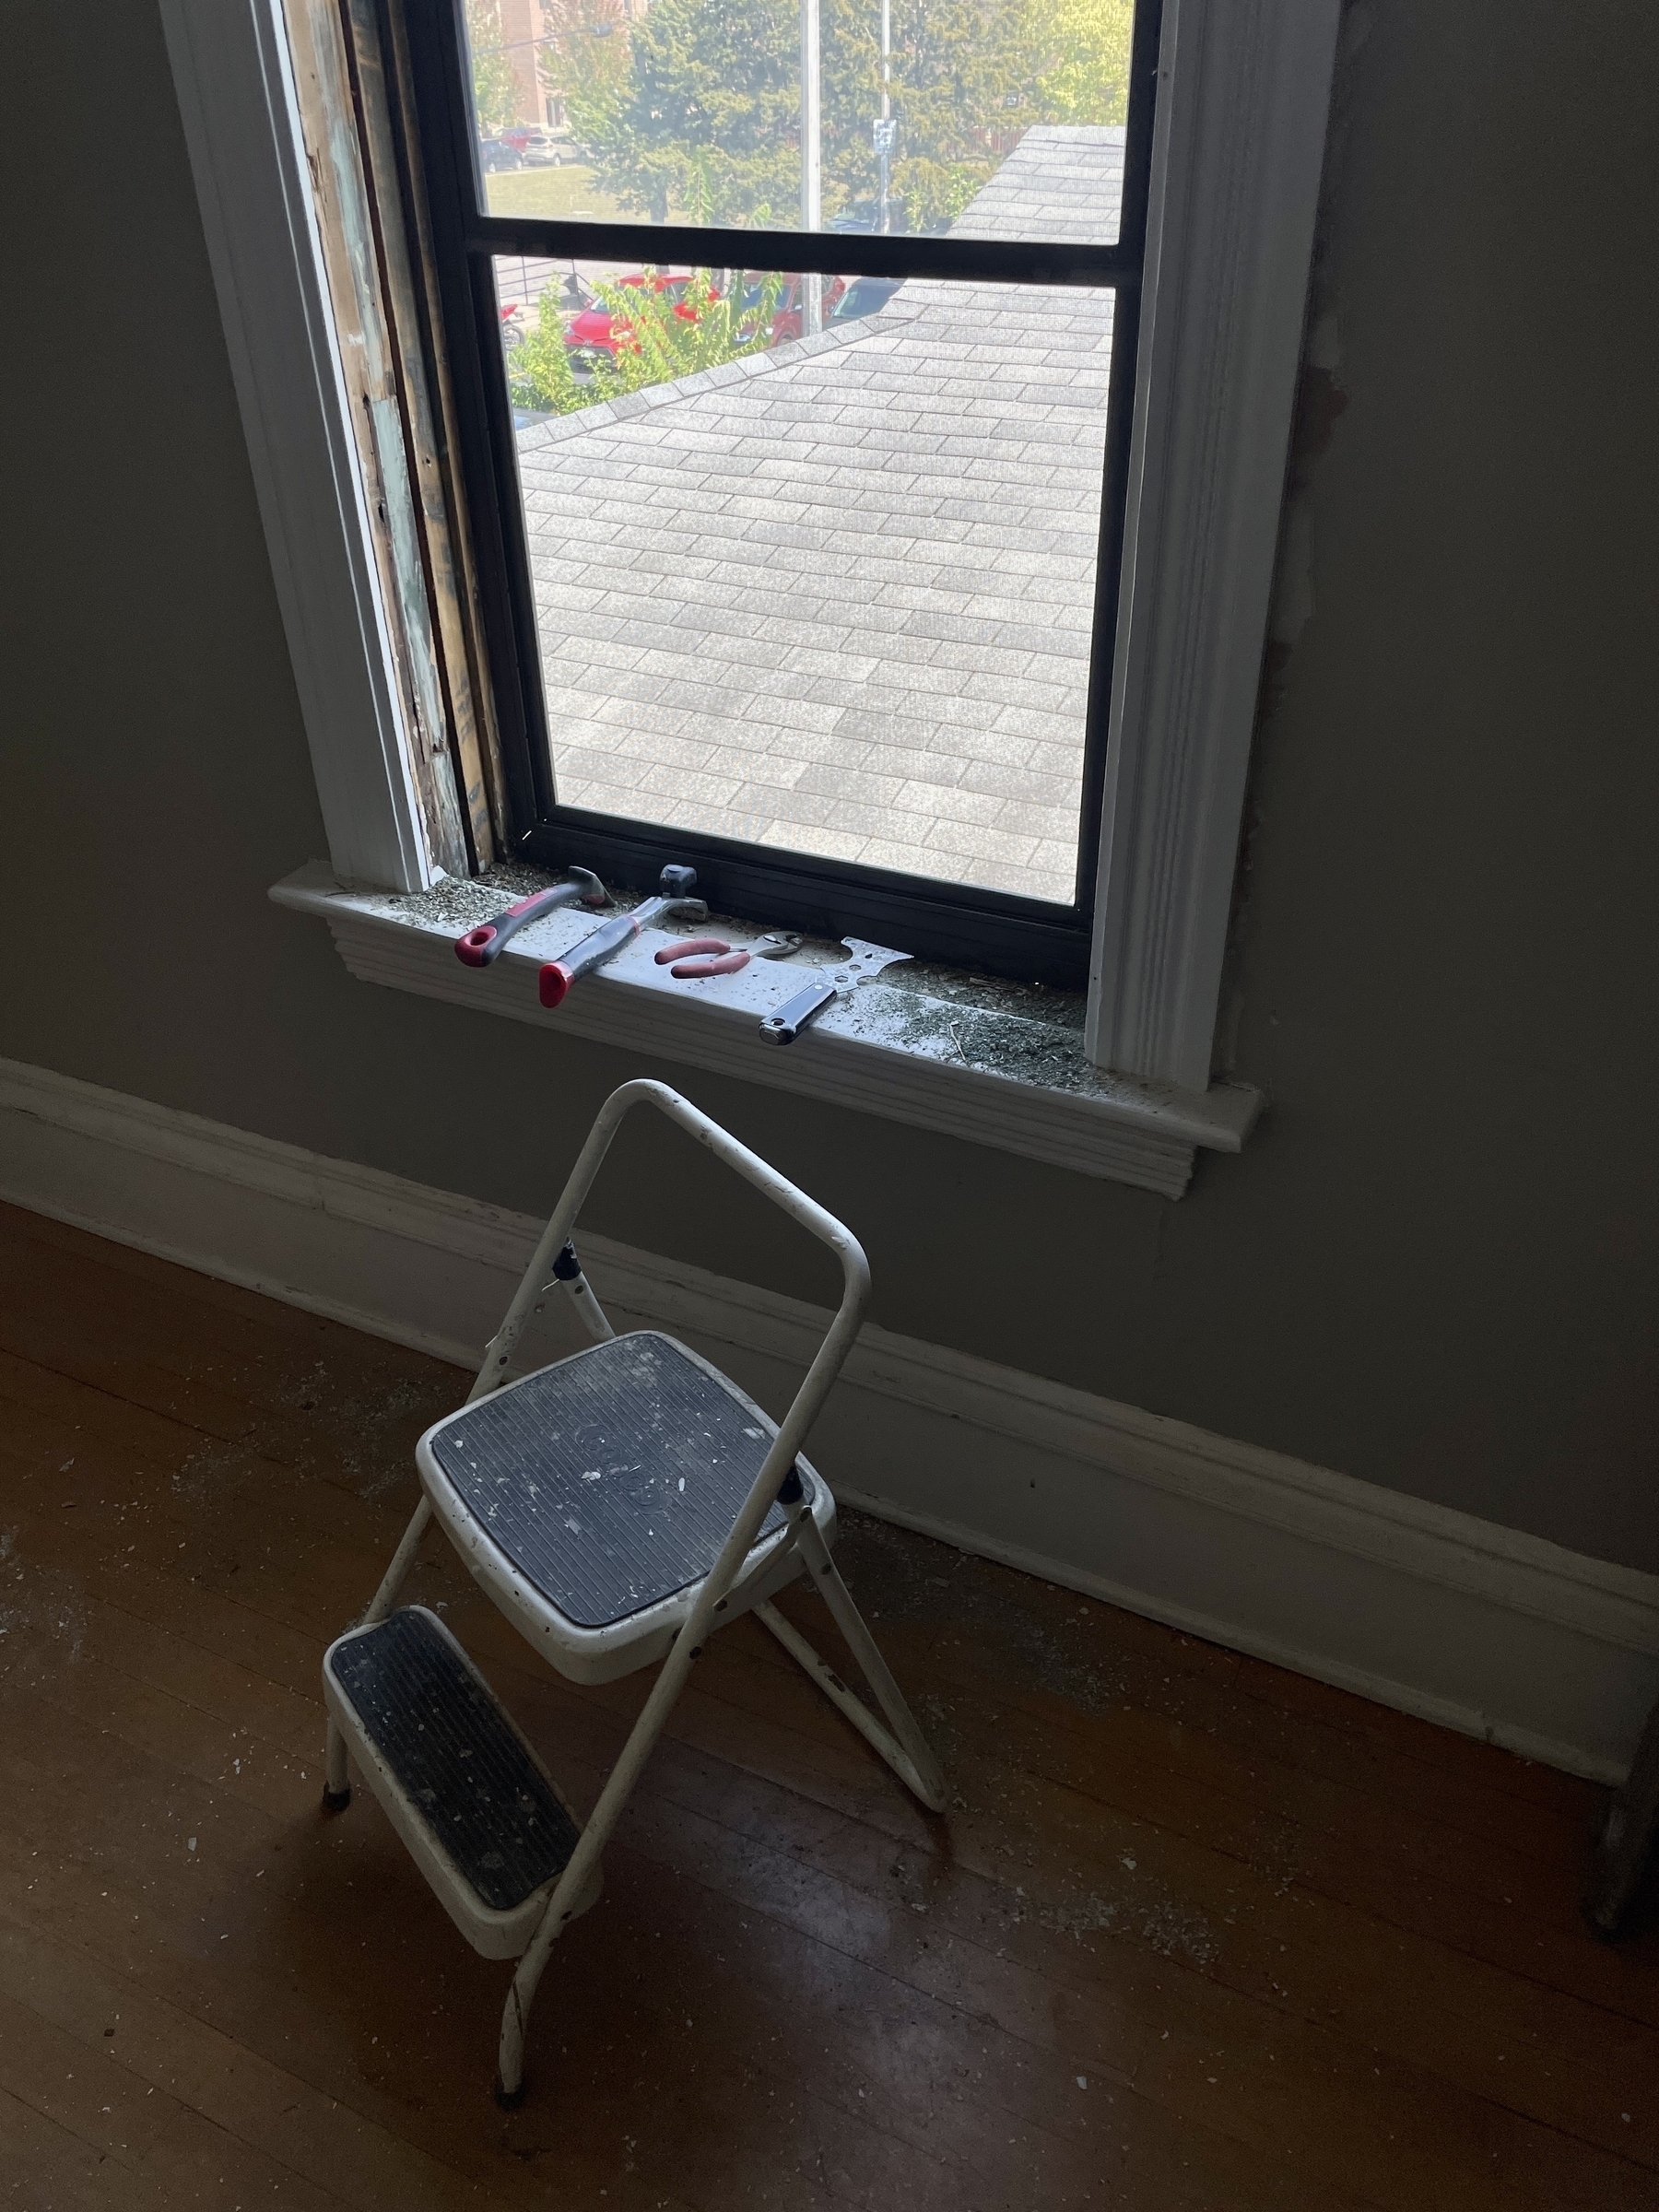
To try to give a better visual explanation of what I’m working on right now… Having already re-roped, weighted, and repaired the sashes to ensure all is is working order, I’m scraping and sanding the several layers of paint off of each window down to wood, making minor repairs where needed, then priming and painting them again.
Design is both how it works and how it looks. When done, the answer for these windows will be “beautifully”.


Window stops that are decoratively screwed in versus nailed in so one can easily remove the sashes to clean/repair them.
What we believe in.

